The ability to prototype your own printed circuit boards (PCBs) is a game-changer for electronic hobbyists and professionals alike. While advanced PCB manufacturing services are readily available, they often come with a price tag that can hinder rapid prototyping and experimentation. This article explores various avenues to obtain a 'cheapest PCB printer' including DIY methods and affordable machines, providing a pathway for everyone to access PCB fabrication at a reasonable cost. We'll cover techniques, equipment, and services to help you prototype your electronics project without compromising quality.
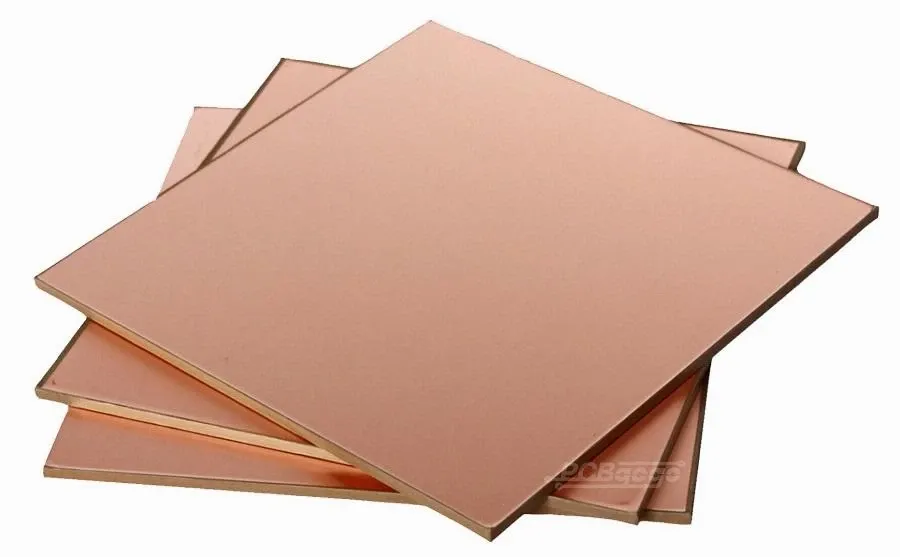
The realm of Printed Circuit Board (PCB) fabrication encompasses diverse methodologies, each with distinct advantages and limitations. For budget-conscious users seeking the 'cheapest pcb printer' solution, a clear understanding of these options – etching, milling, and direct printing – is crucial for making informed decisions. This section provides an overview of each method to guide your choice.
| Method | Description | Pros | Cons | Cost Considerations |
|---|---|---|---|---|
| Etching | Uses chemical reactions to remove unwanted copper, leaving the desired circuit pattern. | Relatively inexpensive for simple designs, suitable for mass production, well-established process. | Requires chemicals and careful handling, can be challenging for fine details, can be time consuming, environmental impact related to disposal. | Low material cost but has higher setup costs for chemicals and tools, and can be time-consuming |
| Milling | Employs a CNC machine to physically cut away the copper from a board, creating the circuit pattern. | Good for prototyping, no chemicals involved, allows for quick iterations, precise. | Can be slow for large boards, not suitable for mass production, tools can break, limited to two layers, higher cost for more complex designs. | Moderate upfront investment in a CNC machine and tooling, higher running cost per board |
| Direct Printing | Involves directly printing conductive inks or materials onto a substrate to form circuits. | Potentially rapid prototyping, no chemicals involved, minimal material waste, enables flexible circuits | Still an emerging technology, often costly for equipment, limited material choices and layer capabilities, accuracy and reliability can be challenges. | High initial cost for equipment, limited options for affordable models, and can be costly to operate per board. |
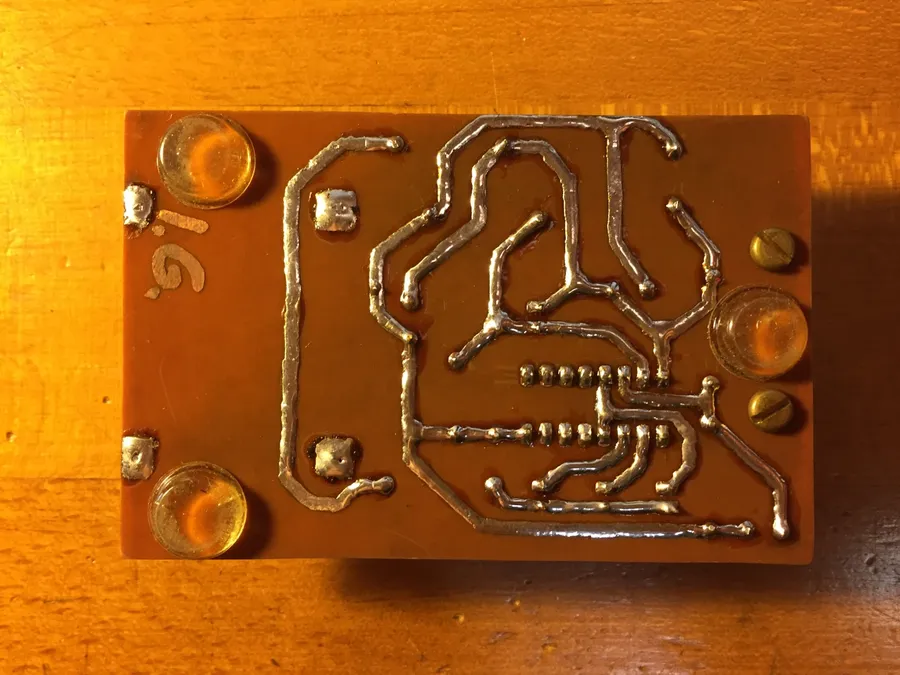
For hobbyists and makers seeking the most economical path to PCB fabrication, DIY methods offer a compelling alternative to professional services or direct PCB printers. These approaches, while requiring more hands-on effort, significantly reduce costs and provide a deeper understanding of the PCB creation process.
Several DIY techniques stand out for their affordability and accessibility, each with its own set of requirements and cost implications. Let's explore the most common ones:
| Method | Equipment Needed | Cost | Complexity | Precision | Pros | Cons |
|---|---|---|---|---|---|---|
| Toner Transfer | Laser printer, glossy paper, iron/laminator, etching solution | Low | Low | Low to Medium | Cheap setup, easy to learn | Lower precision, can be unreliable, best for simple designs |
| Photoresist Etching | UV light source, transparency film, photoresist PCB boards, developer, etching solution | Medium | Medium | Medium to High | Higher precision, better for smaller features | Higher material costs, more steps |
| CNC Milling | CNC milling machine, PCB bits, PCB material | High | Medium to High | High | Very precise, good for complex boards | High equipment cost, requires expertise, dust production |
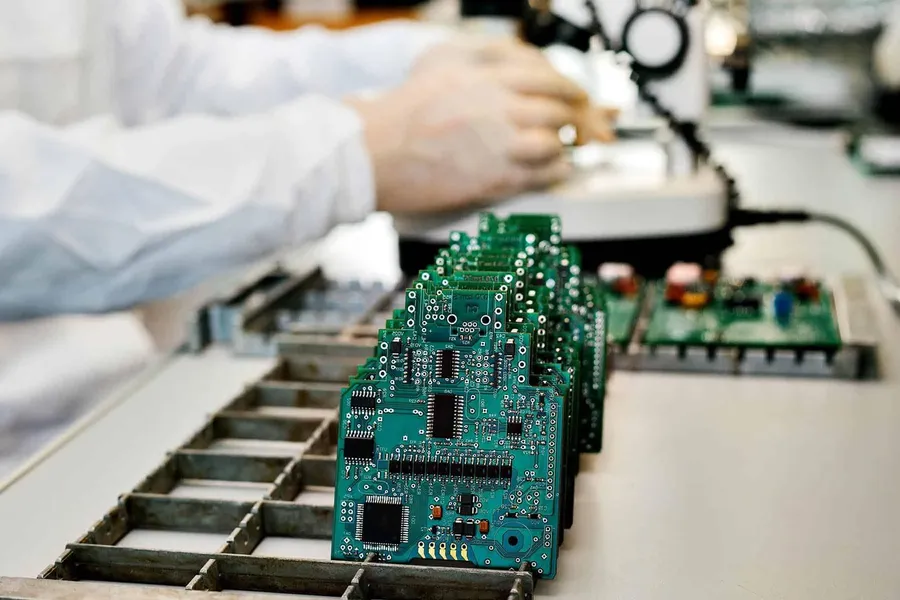
For those seeking cost-effective alternatives to DIY PCB fabrication, online manufacturing services offer a compelling solution. Companies like JLCPCB, PCBWay, and EasyEDA provide competitive pricing for PCB production, often at a lower overall cost than setting up a fully equipped home lab. However, understanding the tradeoffs is crucial for making informed decisions, focusing primarily on the balance between cost, lead time, and specific project requirements.
| Service | Typical Cost (per board) | Minimum Order Quantity | Lead Time | Key Advantages | Key Disadvantages |
|---|---|---|---|---|---|
| JLCPCB | Very low, e.g., ~$2 for 5 PCBs | 5 | 2-7 days | Extremely affordable, fast turnaround for small orders, a wide range of options for materials, thickness, etc. | Shipping times may be longer to some locations; more complex designs may incur additional costs. |
| PCBWay | Low, e.g., ~$5 for 10 PCBs | 5 | 3-8 days | Good balance of price and quality, offers a variety of advanced PCB options such as flex PCBs, excellent customer support | May be slightly more expensive than JLCPCB for simple designs |
| EasyEDA | Low, e.g., ~$6 for 10 PCBs | 5 | 3-8 days | Integrated design tool and manufacturing service, good for beginners, fast quoting system | May have less options for advanced PCB specifications. |
Key factors to consider when using online PCB manufacturing services include the minimum order quantity (MOQ), which is often set at 5 or 10 boards, and delivery times, which can vary depending on your geographic location and chosen shipping method. The cost per board decreases significantly with larger orders, making these services ideal for batch production or when you anticipate needing multiple prototypes. It's also important to note that while these services are generally inexpensive, additional features like specialized finishes, non-standard board thicknesses, or very complex designs may incur extra fees. Understanding these nuances can prevent unexpected budget increases.
Entry-level PCB printers offer a more accessible pathway to in-house prototyping compared to high-end models. These machines, often found on platforms like Amazon and Alibaba, balance cost with functionality, targeting users who need basic PCB printing capabilities without a large capital investment. While they may not match the precision and speed of professional machines, they serve as a valuable tool for hobbyists and small-scale projects.
| Feature | Entry-Level Direct PCB Printers | Stencil Printers |
|---|---|---|
| Printing Method | Direct Inkjet or similar technology | Manual or semi-automatic application of solder paste through stencils |
| Cost | Generally lower, often under $1000 | Lower initial investment, often under $500 (manual) or $1000-$2000 for semi-automatic |
| Complexity | Moderate learning curve, requires understanding of ink and substrate compatibility | Simpler to use, focuses on precise solder paste application after the PCB is fabricated |
| Precision | Limited precision compared to professional methods, suitable for basic designs | High precision in solder paste application when used with a high-quality stencil |
| Typical Use Cases | Prototyping basic single or double-layer boards, educational purposes | PCB assembly process, essential for surface mount component soldering |
| Materials | Specialized conductive inks or similar materials | Primarily used with solder paste, not directly involved in PCB creation |
When evaluating these machines, consider factors such as printing resolution, supported materials, and the level of technical support provided. While many entry-level machines offer basic capabilities, the long-term running cost (ink/consumable cost) should also be a key consideration.
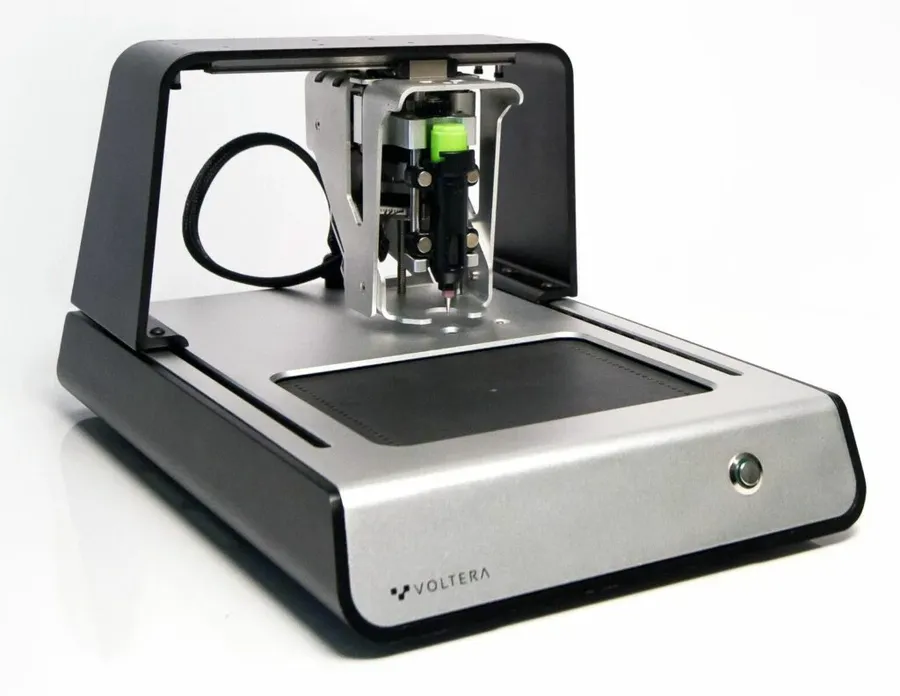
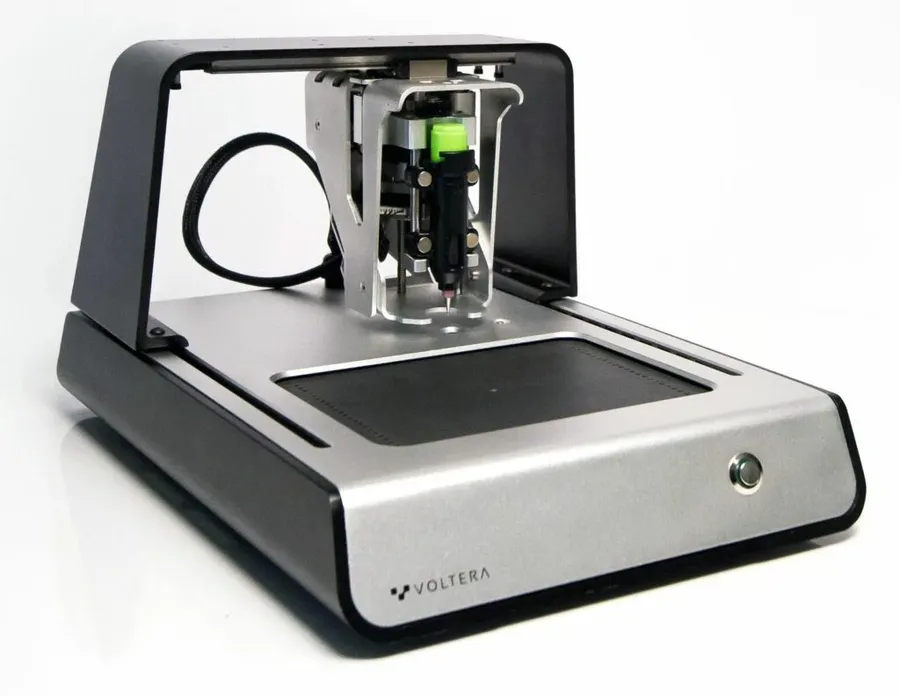
High-end desktop PCB printers, such as the Voltera V-One, represent a significant investment over entry-level options, yet they offer capabilities that can be crucial for rapid prototyping and advanced PCB fabrication. This section explores the features, costs, and benefits of these advanced machines, comparing them with lower-cost alternatives.
| Feature | Entry-Level PCB Printers | High-End Desktop PCB Printers (e.g., Voltera V-One) |
|---|---|---|
| Price Point | Generally under $1,000 | Typically $5,000 and above |
| Printing Method | Often direct ink dispensing or simple etching processes | Advanced ink dispensing, conductive inks, and multilayer capabilities |
| Resolution and Accuracy | Limited resolution and accuracy may impact complex designs | Higher resolution and greater accuracy suitable for intricate designs |
| Material Compatibility | Restricted to basic inks and materials | Wider range of materials, including conductive inks and solder pastes |
| Multilayer Capability | Generally no multilayer PCB production | Multilayer PCB fabrication with precise registration |
| Ease of Use | Often simple setup with limited features | More complex but with advanced software integration |
| Prototyping Speed | Slower prototyping due to manual processes | Faster prototyping with automated printing |
| Maintenance and Durability | Lower maintenance, parts may need frequent replacement | Higher quality components, requiring less maintenance |
The decision to invest in a high-end desktop PCB printer hinges on the specific needs of the user. For those involved in advanced prototyping, research, or developing complex electronics, the increased cost may be justifiable. However, for basic prototyping, education, or hobbyist use, entry-level or DIY methods might suffice and offer a more cost-effective solution.
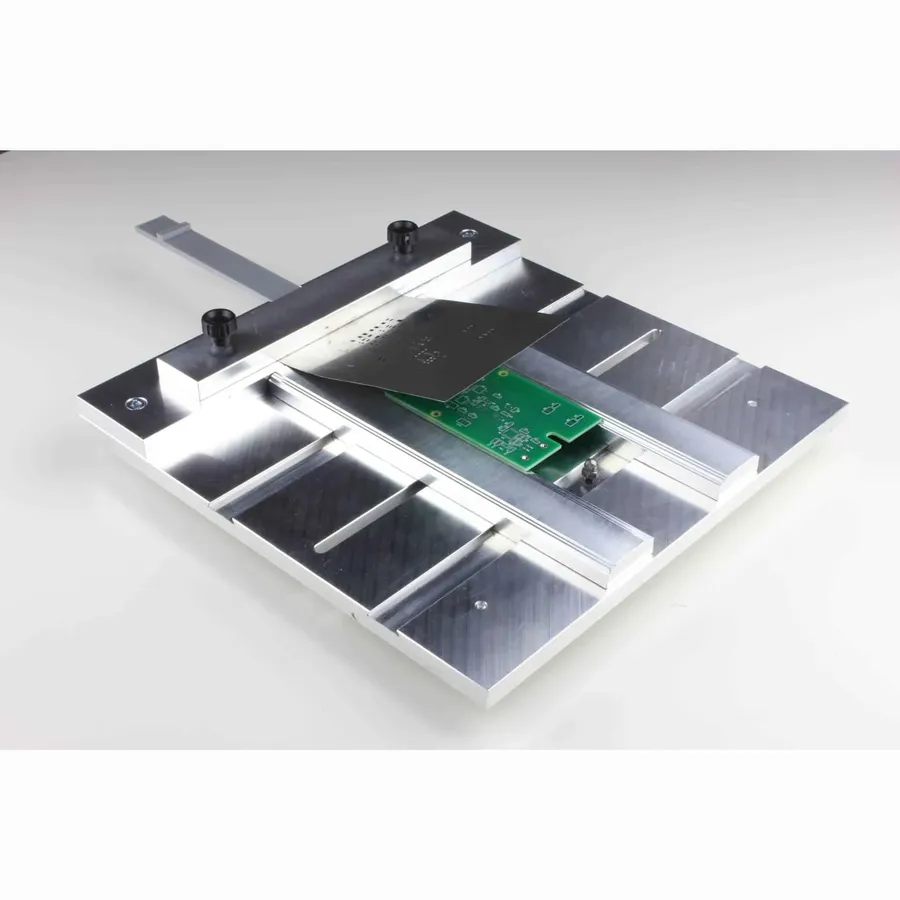
Stencil printers are essential tools in PCB assembly, primarily used for the precise application of solder paste onto circuit boards before component placement. This section elucidates their function, operation, and the utility of low-cost options for hobbyists and small-scale production.
The fundamental purpose of a stencil printer is to transfer solder paste accurately onto the pads of a PCB. This process ensures that when components are placed and reflowed, each solder joint will be consistent, reliable, and electrically sound. Stencil printers utilize a thin sheet (the stencil) with precisely cut openings that correspond to the solder pad locations on the PCB. Solder paste is applied to this stencil and then spread across the surface, transferring paste only to the open areas.
Manual stencil printers, often the most affordable option, typically comprise a frame to hold the stencil taut and a base to secure the PCB. The user applies solder paste and uses a squeegee to spread it evenly across the stencil, transferring the paste onto the board. While manual models lack the automation of high-end machines, they offer an acceptable and economical solution for small-batch assembly.
| Feature | Manual Stencil Printers | Automated Stencil Printers |
|---|---|---|
| Cost | Low (typically under $200) | High (thousands of dollars) |
| Operation | Manual solder paste application and squeegee operation | Automated solder paste dispensing and squeegee motion |
| Precision | Dependent on user skill, acceptable for most hobbyist needs | Higher precision and repeatability |
| Throughput | Low (suited for small batch production) | High (suited for medium to large batch production) |
| Complexity | Simple and easy to use | More complex setup and operation |
| Suitability | Hobbyists, small-scale prototyping and production | High volume manufacturing |
Low-cost manual stencil printers are typically found on online marketplaces like Amazon or AliExpress, and are frequently used to assemble prototypes and small-scale productions. The use of stencil printers can significantly enhance the precision of solder paste application which improves the reliability of the assembled boards.
While automated stencil printers offer superior accuracy and higher throughput, they come at a significant cost. For users focused on prototyping or small runs, a manual stencil printer is often the most economical and practical solution, bridging the gap between hand soldering and high-volume PCB assembly.
This section addresses common questions regarding PCB printing, focusing on cost-effective methods and solutions, including considerations for the 'cheapest pcb printer' approach.
Selecting the optimal PCB fabrication method involves a careful evaluation of project requirements, budget constraints, and desired precision. The 'cheapest pcb printer' solution isn't always the best fit; it's crucial to balance cost with the specific needs of your project.
To make an informed decision, consider the following factors:
By carefully considering these factors, you can make a well-informed decision about the most suitable PCB fabrication method for your project, ensuring that you not only save money but also achieve the desired quality and functionality.
Optimizing PCB designs and strategically choosing materials are critical for cost-effective prototyping. This section provides practical advice for minimizing expenses, enabling budget-conscious makers to produce PCBs without sacrificing quality or functionality. By leveraging these tips, users can effectively lower their prototyping costs and refine their designs more efficiently.
Finding the 'cheapest pcb printer' solution is a balancing act between budget, quality, and required prototyping speed. While DIY methods can be incredibly affordable, they require time and effort. Low-cost PCB printers and stencil printers offer an alternative for those seeking convenience. Online services like JLCPCB are ideal for high-quality yet affordable production runs. By understanding the options and considering your individual needs, you can effectively choose the most economical and efficient way to bring your electronic designs to life. The right choice will allow you to rapidly innovate without overspending on the tools you need.

