Understanding LED Load Resistors: Solve Hyper Flashing & More
2025.02.03
The transition to energy-efficient LED bulbs in vehicles is revolutionizing automotive lighting, yet it often brings along an unexpected issue: hyper flashing, caused by a difference in power draw compared to traditional bulbs. This is where the unassuming load resistor steps in, using Ohm's law to mimic the power consumption of conventional bulbs. Join us as we dive deep into the world of load resistors for LEDs, exploring how this clever piece of technology works to ensure your vehicle's lighting functions correctly and efficiently, a tiny solution with a major impact on modern automotive applications.
What is a Load Resistor for LEDs?
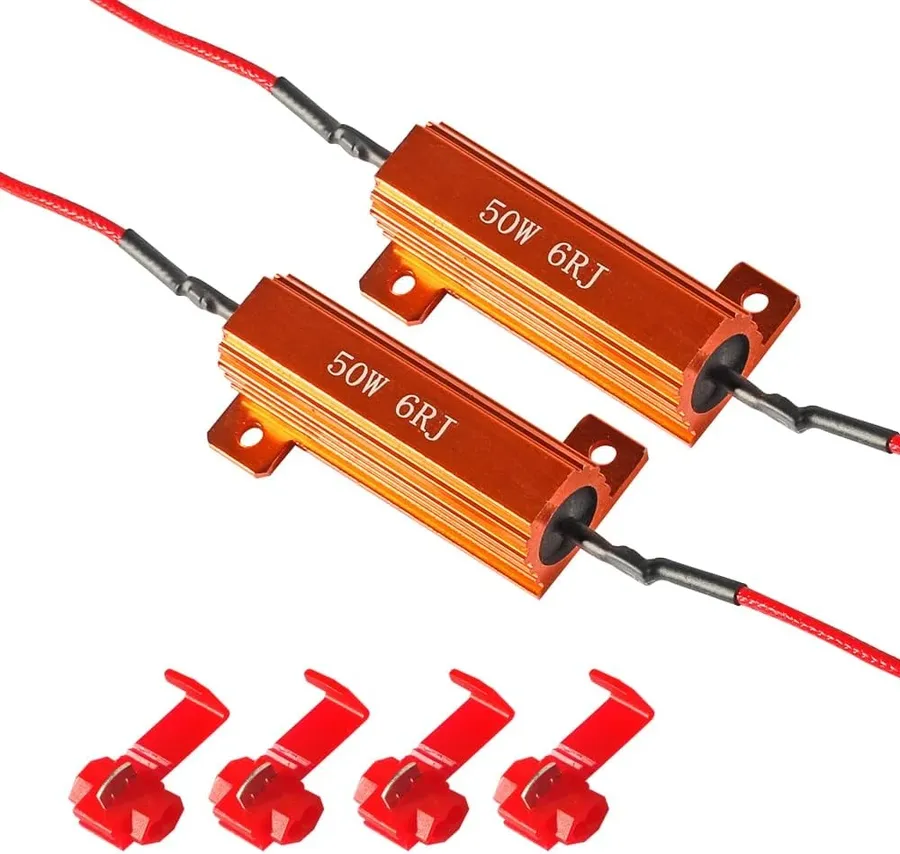
LED Load Resistor
A load resistor, in the context of LED lighting, is an electronic component specifically designed to mimic the electrical resistance of traditional incandescent bulbs. This simulation is crucial because vehicle electrical systems are often designed to detect the current draw of incandescent bulbs; when LEDs with their significantly lower current draw are installed, the system may misinterpret this reduced load as a bulb failure, leading to issues such as hyper flashing in turn signals or dashboard error messages. The load resistor, therefore, bridges the gap, allowing LEDs to function correctly within the existing automotive circuit.
Why are Load Resistors Needed with LED Bulbs?
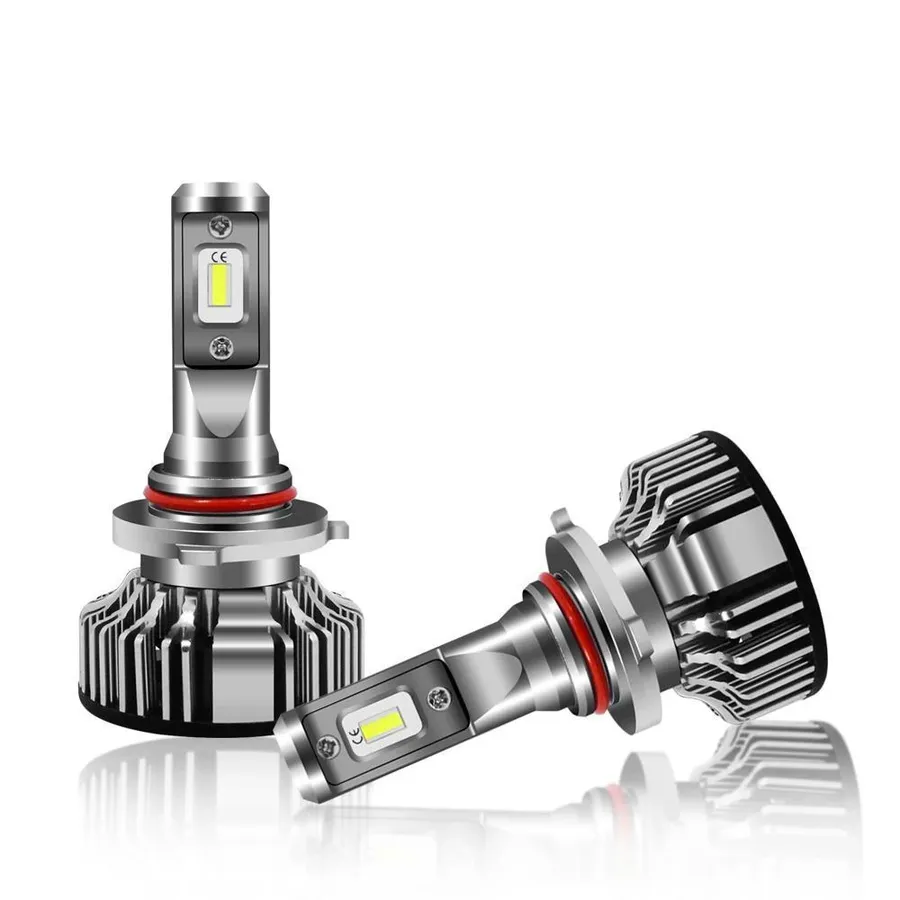
Automotive LED Bulb
LED bulbs, prized for their energy efficiency and longevity, present a challenge in automotive applications due to their significantly lower power draw compared to traditional incandescent bulbs. This reduced power consumption can be misinterpreted by a vehicle's electrical system, leading to issues like hyper flashing or bulb-out warnings.
Automotive electrical systems are engineered to detect the current draw of incandescent bulbs. When an LED bulb, which consumes far less power, is installed, the system may not register the expected current flow. Consequently, the system interprets this as a bulb failure. This is particularly evident in turn signal circuits, where a rapid blinking rate (hyper flashing) is triggered as the system attempts to indicate a faulty bulb.
The function of a load resistor is to mimic the electrical load of an incandescent bulb by drawing additional current into the circuit. By introducing this artificial load, the vehicle's system detects the expected current draw and correctly operates the LED bulb without triggering error conditions or hyper flashing.
Identifying When You Need a Load Resistor for LEDs
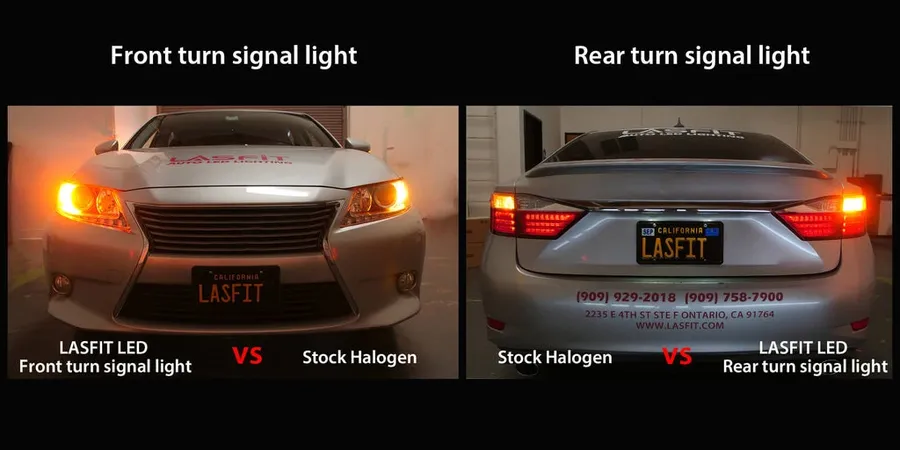
Hyper Flashing Turn Signal
The need for a load resistor with LED bulbs typically manifests through noticeable issues, stemming from the reduced power consumption of LEDs compared to traditional incandescent bulbs. These symptoms are your car's way of indicating a discrepancy in the expected electrical load, primarily when replacing incandescent bulbs with LEDs in lighting systems such as turn signals and brake lights.
Hyper Flashing Turn Signals The most common indicator is turn signals that blink rapidly, often referred to as hyper flashing. This occurs because the vehicle's flasher relay is designed to detect the current draw of an incandescent bulb. When an LED is installed, the significantly lower current draw is interpreted as a burned-out bulb, causing the relay to activate at a much faster rate.
Bulb Out Warning Lights or Error Messages Many modern vehicles are equipped with bulb-out detection systems. If an LED is installed without a load resistor, the system may trigger a dashboard warning light or an error message because it senses insufficient current flow compared to the expected draw of an incandescent bulb. This warning indicates a problem that could prevent proper signaling.
Flickering or Intermittent Operation In some cases, without adequate load, LEDs might not operate smoothly and may exhibit flickering or intermittent operation. The electronic control unit or flasher relay needs a stable load to operate reliably. The reduced resistance from an LED can disrupt this, leading to erratic light output.
Dim or Inconsistent Brightness LEDs can sometimes appear dimmer than expected if the circuit isn't providing the current levels anticipated by the vehicle's system. While not always a clear sign of a need for a load resistor, the incorrect resistance can impact the light's operational performance and lifespan.
Types of Load Resistors and Their Specifications
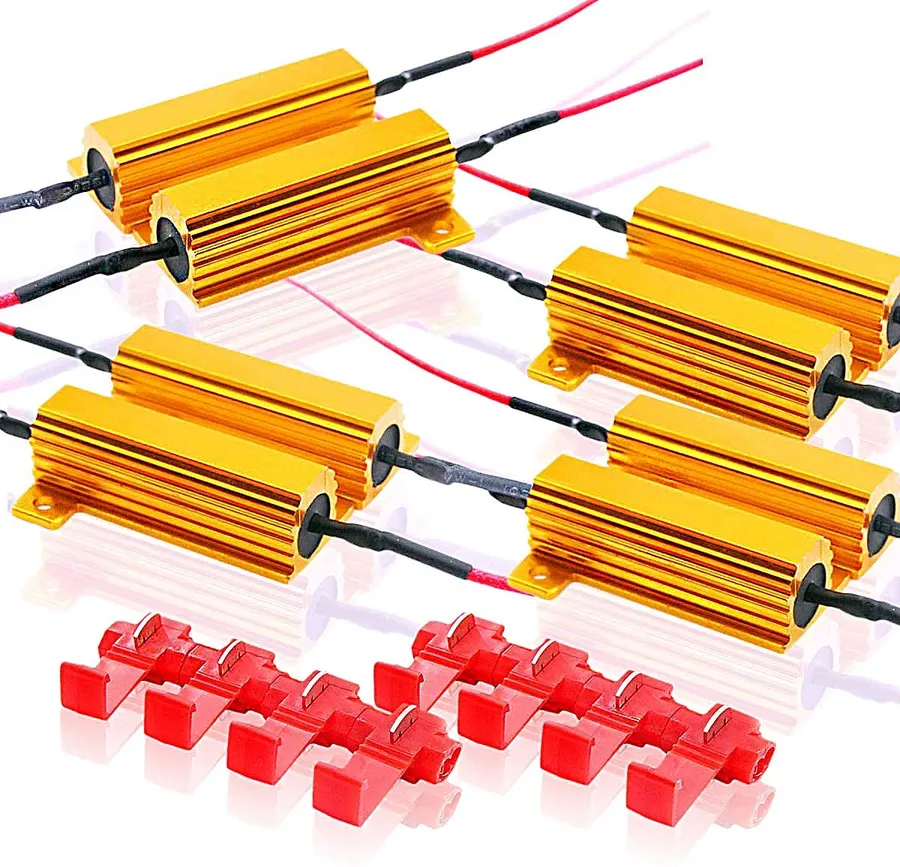
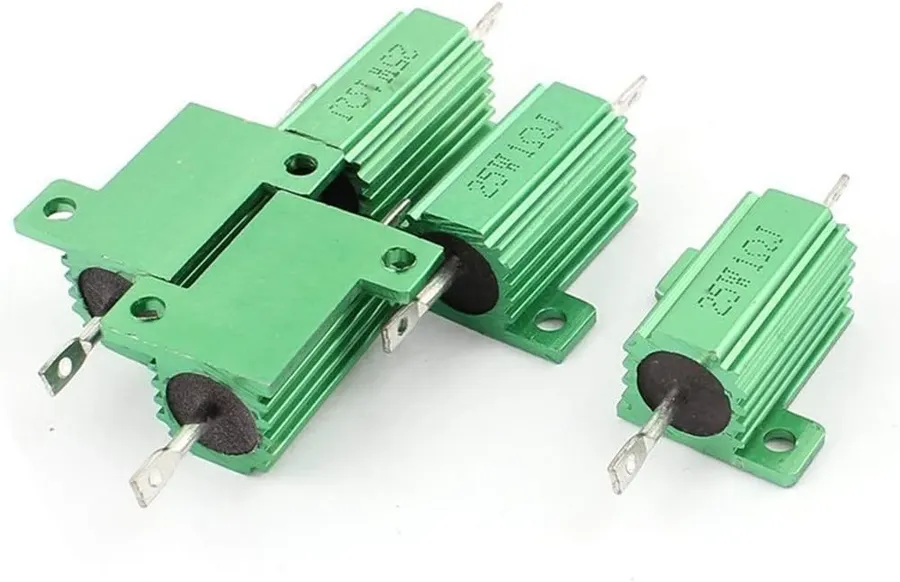
Various Load Resistors
Load resistors are not a one-size-fits-all solution; they come in various types and specifications to match the diverse needs of automotive LED lighting systems. Selecting the correct load resistor is critical for ensuring proper LED function and preventing damage to the electrical system. This section details the different types of load resistors, their specifications, and how to choose the right one for your specific application.
Characteristic
Description
Typical Values
Considerations
Wattage Rating
The amount of power (in watts) the resistor can safely dissipate as heat.
3W, 6W, 10W, 25W, 50W
Must be equal to or greater than the difference in power consumption between the incandescent bulb and the LED.
Resistance (Ohms)
The measure of a resistor's opposition to the flow of electrical current.
3Ω, 6Ω, 8Ω, 10Ω
Determines the amount of current drawn and impacts how well the resistor simulates the load of an incandescent bulb.
Physical Size and Form Factor
The physical dimensions and design of the resistor.
Ceramic, Metal, Aluminum Heatsink
Size must fit available mounting space. Heatsink style are best to dissipate heat.
Tolerance
The permissible deviation from the stated resistance value
±1%, ±5%, ±10%
A lower tolerance indicates a more precise resistance value, and the better choice.
Material
The material of the resistor
Wire-wound, Metal film
Wire-wound types are suitable for higher wattage, and Metal film are suitable for higher tolerance and accuracy.
The relationship between power (P), voltage (V), and resistance (R) is described by Ohm's Law (V=IR), and the power formula (P=VI), which can be combined to derive P = V²/R or P = I²R, these formulas are fundamental in selecting an appropriate resistor. In automotive systems, where the supply voltage is typically 12V, the wattage rating is a critical factor. Incorrect wattage rating can lead to overheating, resistor failure, or even fire hazards.
For example, if an original incandescent turn signal bulb consumed 21W and the LED replacement consumes only 3W, the load resistor needs to dissipate approximately 18W of power (21W - 3W= 18W). Therefore, a resistor with a 25W rating is typically recommended to provide a safe margin. When choosing a load resistor, selecting a resistor with a sufficient wattage rating for the application is crucial.
How to Install Load Resistors: A Step-by-Step Guide
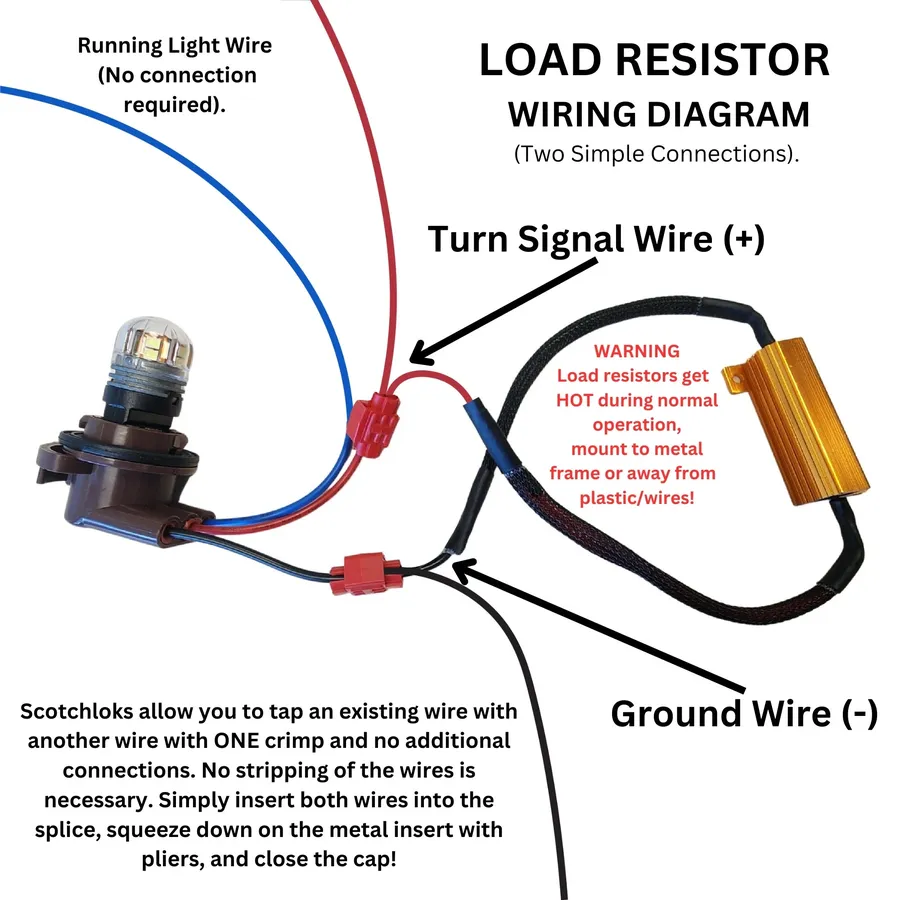
Load Resistor Installation
Proper installation of load resistors is crucial for the safe and effective operation of LED lights in vehicles. Incorrect installation can lead to component failure, overheating, or continued issues such as hyper flashing. This guide provides a detailed, step-by-step process for installing load resistors, emphasizing best practices, reliable connection methods, and necessary safety precautions.
Preparation and Safety First Before beginning any electrical work on your vehicle, disconnect the negative terminal of your car battery to prevent short circuits and electrical shocks. Gather all necessary tools and materials, including your load resistors, wire strippers, wire connectors (crimp or solder), electrical tape, and a multimeter.
Locate the Correct Wiring Identify the correct wires for the specific LED light you are working with (e.g., turn signal, brake light). Consult your vehicle's wiring diagram if needed. Usually, you'll need to tap into the positive and negative wires of the circuit that powers the light. Ensure the vehicle is off.
Prepare the Wires Using wire strippers, carefully remove a small amount of insulation from the wires where you will connect the load resistor. Be careful not to cut the copper strands of the wires. The wires should be clean of contaminants and have an exposed length sufficient for connection.
Connect the Load Resistor Attach the load resistor to the exposed wires. For crimp connections, use appropriate-sized crimp connectors and a crimping tool to securely join the resistor leads to the vehicle wires. If soldering, pre-tin the wire ends and resistor leads, then solder them together, ensuring a strong mechanical and electrical joint. Consider using heat shrink tubing for insulation.
Secure and Insulate Connections Once the connections are made and tested, insulate the joints with electrical tape or heat shrink tubing to prevent shorts. Ensure the resistor body is not in contact with any plastic or heat-sensitive parts of the car.
Test the Installation Reconnect the vehicle's battery. Turn on the lights to ensure the LED is functioning correctly and the hyper flashing issue is resolved. Check the connections to ensure they are secure.
Final Checks If the LED functions as intended, use a multimeter to measure current draw and the voltage drop across the load resistor to ensure it falls within acceptable parameters to verify the correctness of the installation and resistor. Secure all wiring and components.
Load Resistor Placement and Heat Considerations
Load Resistor with Heat Sink
Proper placement of load resistors is crucial for safety and optimal performance due to the significant heat they generate. Incorrect mounting can lead to overheating, potentially damaging surrounding components or even causing a fire hazard. Therefore, understanding heat dissipation and safe mounting practices is essential when installing these components.
Metal Mounting Surface Attach the load resistor to a metal surface of the vehicle's chassis. This acts as a heat sink, efficiently drawing heat away from the resistor and preventing excessive temperature buildup.
Avoid Plastic or Flammable Materials Never mount load resistors directly onto plastic, rubber, or any other flammable material. The heat generated can easily melt or ignite these materials, posing a serious fire risk.
Airflow Choose a location with good airflow around the resistor. This helps dissipate heat into the surrounding air, preventing heat from becoming concentrated in a confined area.
Secure Mounting Ensure the resistor is securely mounted using screws or appropriate fasteners. A loose resistor can vibrate and make contact with other parts, creating a risk of short circuits or damage.
Clearance Maintain sufficient clearance from other electrical components and wiring. Overheating can degrade nearby wires or electronics. Make sure nothing is touching the heat sink of the resistor directly.
Heat Resistant Adhesive For applications where screw mounting is impractical, use high-temperature, heat-resistant adhesive pads to attach the resistor to the metal surface. This method provides good thermal transfer while ensuring secure attachment.
Frequently Asked Questions About LED Load Resistors
This section addresses common questions regarding LED load resistors, providing concise and accurate answers to help you understand their function, application, and limitations. We aim to clarify any confusion and provide practical guidance for their use.
What does an LED load resistor actually do? An LED load resistor mimics the electrical load of a traditional incandescent bulb. When an LED replaces an incandescent bulb, the significantly lower current draw can be interpreted by the vehicle's electrical system as a bulb failure, leading to hyper flashing (rapid blinking) or error messages. The resistor adds an appropriate amount of resistance to the circuit, making the system believe a standard bulb is still present, thus resolving these issues.
Where is the correct placement for an LED load resistor? Load resistors should be installed in parallel with the LED bulb they are intended to support. This means the resistor should be wired between the positive and negative wires that power the LED. It is critical to locate the resistor in a location that allows for heat dissipation and prevents contact with flammable materials. The resistor will generate heat, and proper mounting is essential.
Is a 1K ohm resistor suitable for use with LEDs? A 1k ohm resistor is generally too high a resistance for use as a load resistor with LEDs in automotive applications. Load resistors for automotive LEDs typically range from 3 to 25 ohms, depending on the specific application and the original bulb's wattage. A 1k ohm resistor would not draw enough current and therefore will not resolve the hyper flashing issue. Using too high a resistor value will not simulate an incandescent bulb effectively and might not function as intended.
What size of load resistor is needed for LED turn signals? The appropriate load resistor for LED turn signals typically ranges from 3 to 6 ohms with a power rating of 10 to 25 watts. However, the exact resistance and wattage depend on the vehicle's make and model, the original bulb's wattage, and the specific LED replacement bulb. It is vital to verify the specific requirements for your application before choosing a resistor. Some aftermarket LED bulbs may come with recommended load resistor values, or a look into your vehicle's service manual may provide the original bulb wattage.
Can I use a load resistor for any LED bulb? While load resistors can be used with most LED bulbs, they are most commonly needed when replacing traditional incandescent bulbs used for turn signals, brake lights, and parking lights in vehicles. For interior LEDs or other applications where the low-current draw doesn't create a problem with the electrical system, a load resistor may not be needed. Furthermore, some LEDs come with built-in load resistors, and adding an external one could lead to performance issues or premature failure.
How much heat do load resistors generate? Load resistors get hot when in use, converting electrical energy into heat as part of their function. The amount of heat produced is proportional to the power rating of the resistor and the current flowing through it. In typical automotive use cases with 25 watt load resistors, temperatures can rise significantly, often exceeding 100°C. Therefore, it's crucial to mount them to a heat-dissipating surface like metal or use a heat sink, and keep them clear from flammable materials.
Are load resistors the only solution for hyper flashing? No, load resistors are not the only solution for hyper flashing. Some vehicles, especially newer ones with CAN bus systems, may respond better to reprogramming the vehicle's computer to recognize the lower power consumption of LEDs. In addition, other solutions such as LED bulbs with integrated load resistors, or electronic flashers designed for LEDs, exist and are valid alternatives.
Troubleshooting Common Issues with Load Resistors
Load resistors, while generally effective for resolving LED lighting issues like hyper flashing, are not without their potential problems. This section addresses common issues encountered with load resistors, provides diagnostic steps, and clarifies whether they are always necessary.
Resistor Failure Load resistors can fail due to overheating, physical damage, or manufacturing defects. A failed resistor will cease to provide the necessary load, causing the hyper flashing or bulb-out error to return.
Incorrect Installation Improper wiring or loose connections can prevent the resistor from functioning correctly. This can lead to intermittent issues, or complete failure of the resistor.
Continuing Hyper Flash If hyper flashing persists even after installing load resistors, the likely causes include using a resistor with an insufficient wattage or resistance, incorrect wiring, or a fault in the vehicle's electrical system.
Incorrect Resistor Choice Selecting the wrong resistor, either in terms of wattage or resistance, can lead to problems. A resistor with insufficient wattage will overheat and fail prematurely, while a resistor with too little resistance may not fully correct the hyper flashing.
Overheating Load resistors dissipate a significant amount of heat. Improper placement, without adequate ventilation, can cause the resistor to overheat and possibly damage nearby components or create a fire hazard. This is often associated with high-wattage applications like headlights and fog lamps.
When encountering problems with your load resistors, consider the following diagnostic approach: check the resistor for any physical damage, ensure all wiring is securely connected and properly insulated, verify the resistor's specifications match the application, and confirm the mounting location is well-ventilated and away from heat-sensitive components.
The necessity of load resistors often depends on the specific vehicle and LED lights. Some vehicles have CAN bus systems or other advanced circuitry that are more sensitive to the lower power consumption of LED bulbs. In these cases, load resistors, or an alternative, will typically be required for correct operation. Other vehicles may tolerate the lower power consumption without displaying errors, meaning load resistors would not be needed.
Alternatives to Load Resistors for LED Lighting
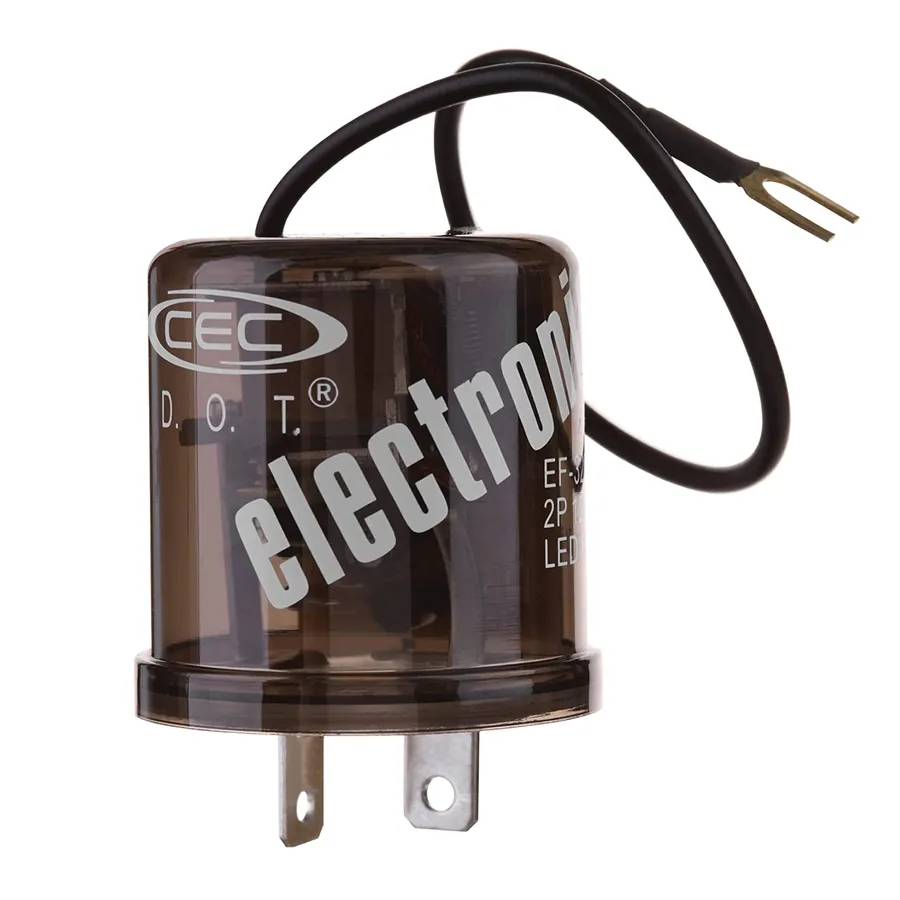
LED Flasher Relay
While load resistors are a common solution for addressing hyper flashing and bulb-out errors when switching to LED lights, alternative methods exist. These alternatives often offer more elegant or efficient solutions, bypassing the need for additional heat-generating components.
LED Bulbs with Built-in Resistors Many LED bulb manufacturers now integrate resistors directly into the bulb's design. These bulbs are engineered to mimic the power draw of traditional incandescent bulbs, thus eliminating the need for external load resistors. They provide a simpler, plug-and-play solution.
LED-Compatible Flasher Relays Replacing the vehicle's standard flasher relay with one specifically designed for LEDs is another effective alternative. These relays are calibrated to recognize the low current draw of LEDs, preventing hyper flashing without the need for added resistance.
Vehicle Computer Reprogramming In some modern vehicles, the Body Control Module (BCM) or similar electronic control unit can be reprogrammed to accept LED lighting. This involves adjusting parameters related to bulb monitoring and current thresholds. This method typically requires specialized equipment or a professional to implement.
CAN Bus Compatible LED Bulbs Controller Area Network (CAN bus) systems in vehicles monitor the electrical system. CAN bus compatible LEDs often have built-in circuitry designed to communicate with the system, avoiding error codes related to the change of LED lights. These bulbs might still include a small integrated resistor, but it will be less than traditional load resistors.
Alternative
Pros
Cons
LED Bulbs with Built-in Resistors
Simple installation, no external components
May not be available for all bulb types, potentially slightly higher cost
LED-Compatible Flasher Relays
Direct replacement, no wiring modification
Requires identifying the correct relay for the vehicle, may not be compatible with all systems
Vehicle Computer Reprogramming
Permanent solution, no additional hardware
Requires specialized knowledge/equipment, potential risk of incorrect programming
CAN Bus Compatible LED Bulbs
Integration with CAN bus system, reduction of error codes
Potentially higher cost, not all LEDs are designed with a CAN bus interface
Load resistors are an essential component when installing LED bulbs in vehicles, ensuring proper functionality by mimicking the power draw of traditional incandescent lights. By choosing the right load resistor and ensuring proper installation, you can avoid hyper flashing and other issues with your LED lighting. While there are alternatives, load resistors remain a reliable and straightforward solution, playing a pivotal role in the seamless transition to energy-efficient LED technology and further emphasizing the critical role of seemingly simple components in advanced lighting systems.