Mastering PCB Soldering: A Comprehensive Guide
From the intricate circuits in our smartphones to the complex boards in industrial machinery, PCB soldering is the backbone of electronics manufacturing. This article delves into the world of PCB soldering, explaining the essential techniques needed to create reliable connections in electrical circuits, regardless of your experience level. We'll explore various methods, common pitfalls, and best practices to help you solder like a pro.
Understanding the Fundamentals of PCB Soldering
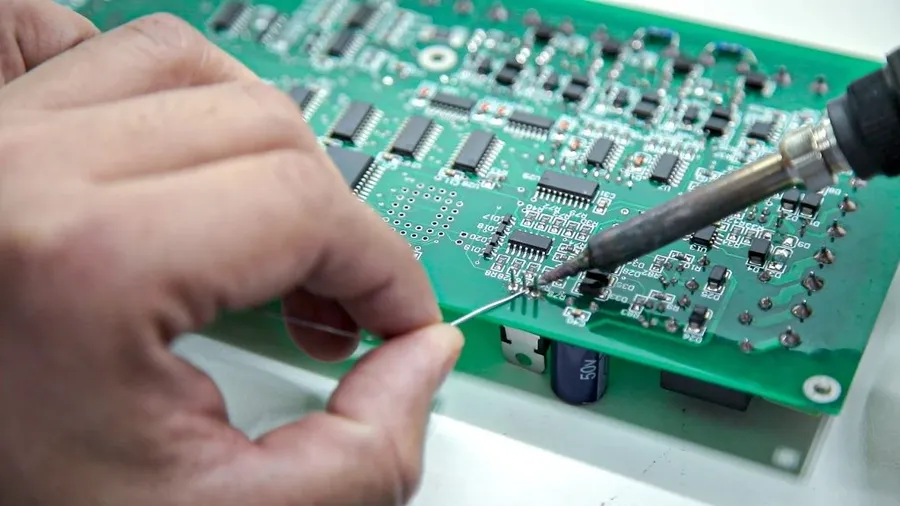
PCB soldering is a crucial process in electronics assembly, creating permanent electrical connections between electronic components and the conductive pads on a Printed Circuit Board (PCB). This process involves melting a solder alloy to form a mechanically robust and electrically conductive joint. The integrity of these soldered connections directly impacts the performance and reliability of electronic devices, making a thorough understanding of the process essential for anyone involved in electronics manufacturing or repair.
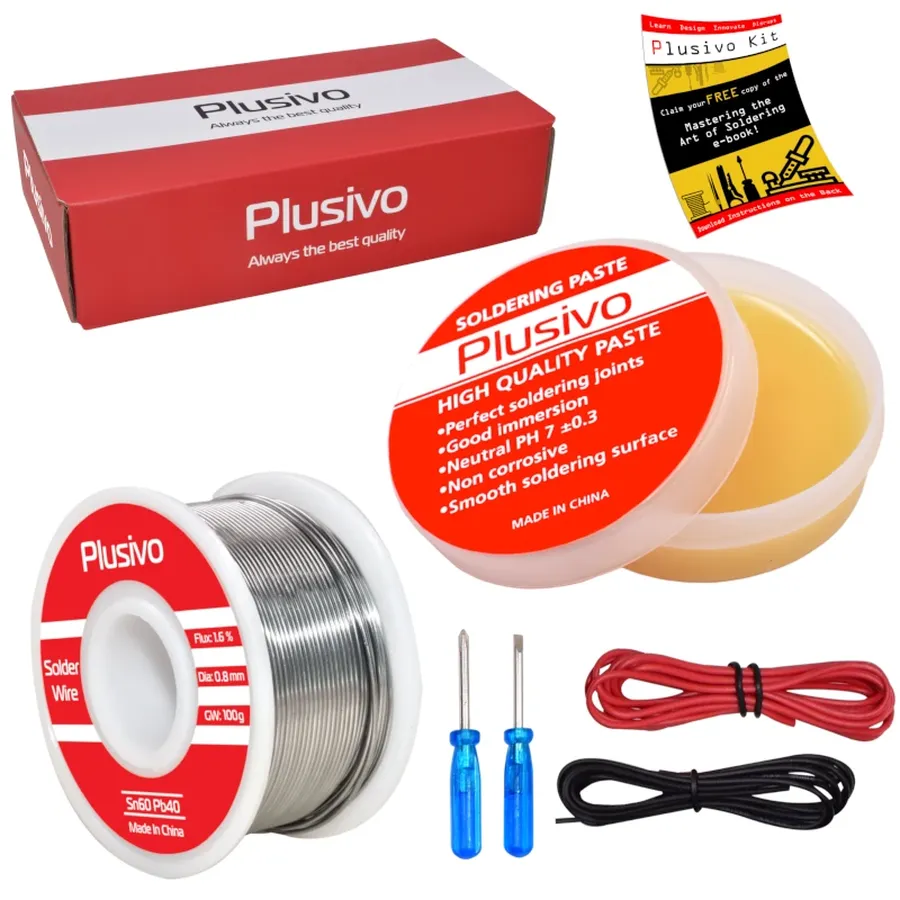
Key materials in PCB soldering include:
- Solder Alloys
Typically composed of metals like tin, lead (though increasingly less common), and silver, these alloys have specific melting points and electrical conductivity properties that dictate their use in different applications. Common alloys include Sn63/Pb37 (Tin-Lead), and lead-free options like SAC305 (Tin-Silver-Copper). - Flux
A chemical agent that cleans the metal surfaces to be soldered, removing oxidation and promoting the flow of molten solder. It is crucial for achieving reliable solder joints and typically comes in liquid, paste or cored forms. - Soldering Iron Tips
These come in various shapes and sizes (e.g., conical, chisel, bevel) to accommodate different soldering tasks, transferring heat to the solder joint and influencing the quality of the solder connection.
Understanding the interplay between these materials and their impact on the soldering process is the foundation for successful and reliable PCB assembly. The type of solder, the flux used, and the correct choice of soldering iron tip all contribute to the effectiveness and durability of the final product.
Essential Tools and Equipment for PCB Soldering
Effective PCB soldering requires a specific set of tools and equipment, each playing a crucial role in creating reliable and durable solder joints. Selecting the right tools is essential for both beginners and experienced professionals to ensure precision, safety, and efficiency in various soldering applications.
| Tool/Equipment | Description | Application | Considerations |
|---|---|---|---|
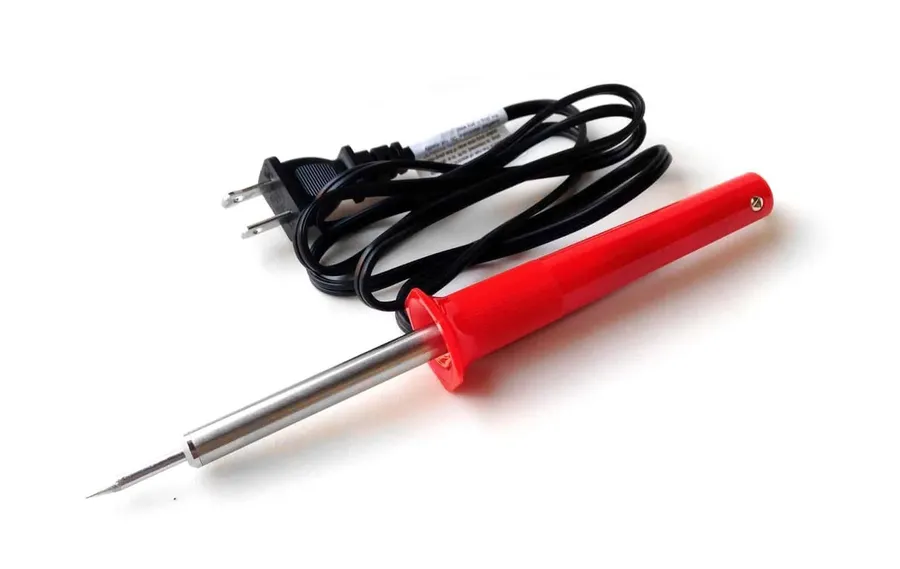
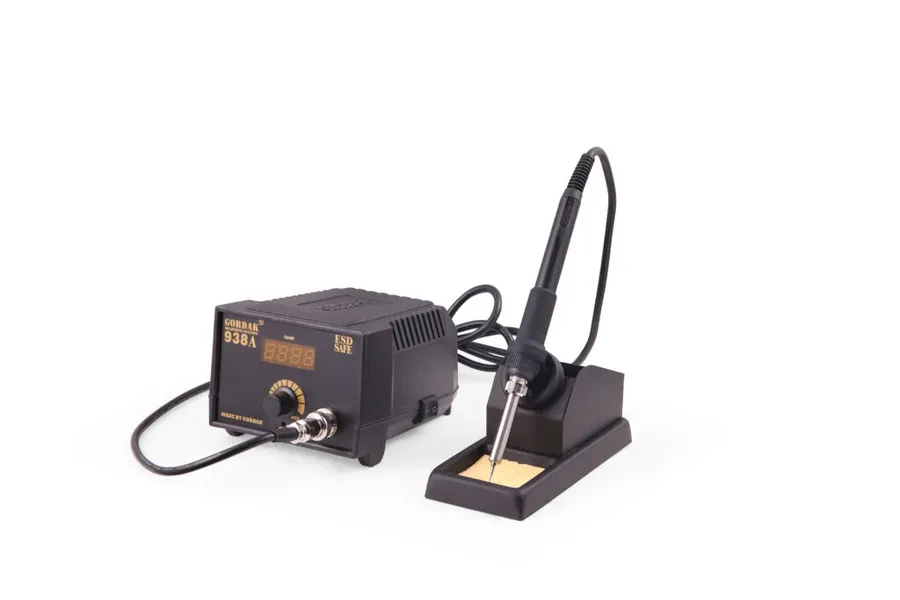
| Soldering Iron | Heats the solder to create a joint. | Melting solder for component attachment. | Wattage, temperature control, and tip type are crucial. |
| Solder Wire | The metallic alloy used to bond components. | Creating electrical and mechanical connections. | Composition (leaded/lead-free), diameter, and flux core are key. |
| Flux | A chemical cleaning agent that improves solder flow. | Reducing oxidation and improving wetting during soldering. | Type (rosin, no-clean, water-soluble), form (paste, liquid, pen) are factors. |
| Desoldering Braid (Wick) | Copper braid used to remove excess solder. | Correcting mistakes and removing solder from joints. | Width and material of the braid will determine its usage. |
| Safety Glasses | Protects eyes from solder splatters. | Preventing eye injuries. | Impact resistance, proper fit for safety. |
| Fume Extractor | Removes harmful soldering fumes. | Ensuring proper ventilation for a healthy workspace. | Effectiveness in filtering specific fumes, and noise levels are important. |
| PCB Holder/Vise | Securely holds the PCB during soldering. | Stability during soldering and precise positioning. | Adjustability and material is important for usability and robustness. |
| Tip Cleaner (Sponge/Brass Wool) | Cleans the soldering iron tip. | Removing oxidation and residues for optimal performance. | Material type will effect the efficiency of the cleaner. |
Step-by-Step Guide to Basic PCB Soldering
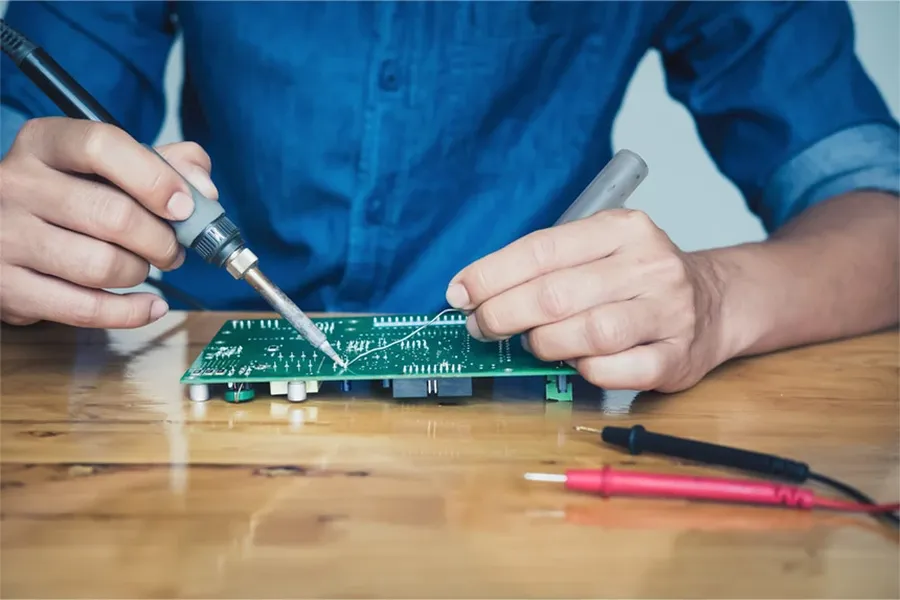
This section provides a systematic approach to performing basic PCB soldering, focusing on essential steps to ensure successful and reliable connections. Proper technique, safety, and attention to detail are paramount for effective soldering.
- Prepare Your Workspace
Begin by setting up a clean, well-lit, and well-ventilated workspace. Ensure all your tools and materials are within easy reach. Use a soldering mat to protect your work surface from heat. - Gather Necessary Materials
Assemble all required components, including the PCB, solder wire, flux, soldering iron, and a damp sponge for cleaning the soldering tip. Ensure all parts are clean and free of contaminants. - Tin the Soldering Iron Tip
Heat the soldering iron to the correct temperature (typically around 315-370°C or 600-700°F for lead-free solder and around 280-340°C or 535-645°F for lead solder). Once heated, apply a small amount of solder to the tip to coat it with a thin layer of solder. This process, known as ‘tinning’, enhances heat transfer. - Position Components
Carefully position the electronic components onto the PCB. Use tweezers or other tools to hold the components steady while soldering to ensure accurate placement. Ensure correct orientation of polarized components. - Apply Flux
Apply a small amount of flux to the solder pads or component leads. Flux helps to clean the metal surfaces and promotes the flow of solder, resulting in a stronger joint. Be careful not to apply excess flux. - Heat the Joint
Place the heated soldering iron tip against the pad and component lead, ensuring both are heated simultaneously. Avoid prolonged contact to prevent overheating. The goal is to heat both pieces to the solder's melting point. - Apply Solder
Once the joint is adequately heated, apply the solder wire to the joint. The solder should melt and flow smoothly around the lead and pad. Only apply enough solder to form a smooth, shiny fillet. A well-soldered joint should look like a miniature volcano. - Remove Heat
Remove the soldering iron tip once the solder has flowed and formed a good connection. Do not move the joint while the solder is cooling, or you risk creating a cold solder joint. - Inspect the Solder Joint
Carefully inspect each solder joint. A good joint should be smooth, shiny, and concave. Check for common defects, such as solder bridges, cold joints, and insufficient or excessive solder. Use a magnifying glass or microscope for detailed inspection. - Clean the PCB
Clean any residual flux from the soldered area using a suitable cleaning solution and a soft brush. Cleaning flux residues helps prevent corrosion and ensures good electrical contact in the long term. Allow the board to dry completely.
Advanced PCB Soldering Techniques
Advanced PCB soldering techniques extend beyond basic through-hole methods, encompassing surface mount technology (SMT), reflow soldering, and intricate through-hole soldering procedures. These techniques are critical for modern electronics manufacturing, offering enhanced miniaturization and improved electrical performance.
| Technique | Description | Applications | Precision Required |
|---|---|---|---|
| Surface Mount Technology (SMT) | Components are soldered directly onto the surface of the PCB, without through-holes. | High-density circuit boards, miniaturized devices, consumer electronics. | High, requires precise component placement and controlled heating. |
| Reflow Soldering | Solder paste is applied to pads, components are placed, and the board is heated in a reflow oven to melt the solder. | Mass production of SMT boards, complex circuit boards. | Moderate, requires precise temperature control. |
| Through-Hole Soldering (Advanced) | Soldering components with leads that pass through holes in the PCB, with more complex joint geometries and requirements. | Specific applications where components need mechanical strength in addition to electrical connection, power electronics. | Moderate to High, requires careful application of heat and solder. |
Each of these advanced techniques demands a specific set of skills, tools, and process controls. Surface mount technology (SMT), for instance, requires precise placement of tiny components and a controlled reflow process to ensure reliable solder joints. Reflow soldering, often used in mass production, involves the application of solder paste and heating the entire PCB in a reflow oven, while complex through-hole soldering requires attention to joint geometry to ensure robust mechanical and electrical connections.
Types of Solder Used in PCB Soldering
The selection of solder is a critical aspect of PCB soldering, directly influencing the reliability and longevity of electronic assemblies. Different solder alloys offer varying characteristics in terms of melting points, strength, and environmental impact, necessitating careful consideration based on the specific application and industry standards.
| Solder Type | Composition | Melting Point | Typical Applications | Advantages | Disadvantages |
|---|---|---|---|---|---|
| Leaded Solder | Tin (Sn) and Lead (Pb), e.g., 63% Sn / 37% Pb | 183°C (eutectic) | General electronics, through-hole components | Lower melting point, excellent wetting, widely available | Contains lead, environmental and health concerns |
| Lead-Free Solder (SAC305) | Tin (Sn), Silver (Ag), Copper (Cu), e.g., 96.5% Sn / 3% Ag / 0.5% Cu | 217-220°C | RoHS-compliant electronics, surface mount components | Environmentally friendly, meets regulatory requirements | Higher melting point, may require higher soldering temperatures |
| Lead-Free Solder (Sn-Cu) | Tin (Sn) and Copper (Cu), e.g., 99.3% Sn / 0.7% Cu | 227°C | Basic electronics, general purpose soldering | Lower cost than SAC alloys, good mechanical strength | Higher melting point than leaded solder, less ductile than SAC alloys |
| Lead-Free Solder (Sn-Bi) | Tin (Sn) and Bismuth (Bi), e.g., 42% Sn / 58% Bi | 138°C | Temperature sensitive components, low temperature soldering | Very low melting point, reduces stress on components | Lower strength, not suitable for high-stress applications |
Troubleshooting Common PCB Soldering Problems
Effective PCB soldering is crucial for reliable electronic circuits, but common issues like cold solder joints, solder bridges, insufficient solder, and excessive solder can compromise performance. Identifying and rectifying these problems is essential to ensure circuit integrity and functionality. This section provides practical insights into recognizing and addressing these common soldering challenges.
| Problem | Description | Causes | Solutions |
|---|---|---|---|
| Cold Solder Joint | A dull, grainy solder joint that doesn't make a solid electrical connection. | Insufficient heat, movement during cooling, oxidized surfaces. | Reheat the joint properly with sufficient heat, ensure stability during cooling and clean the surface before soldering |
| Solder Bridge | An unwanted solder connection between two or more pads or components. | Excessive solder, improper application, lack of solder mask. | Use desoldering braid or a solder sucker to remove the excess solder and reapply precisely, use solder mask to isolate the pads |
| Insufficient Solder | A joint with too little solder, resulting in a weak connection. | Insufficient solder application, solder wicking away. | Apply additional solder to the joint, ensure the soldering iron is heated sufficiently and is in contact with both the pad and the component lead. |
| Excessive Solder | A joint with too much solder, potentially leading to shorts or weak connections. | Over-application of solder, improper technique. | Use desoldering braid to remove the excess solder, ensure that the soldering iron is controlled and used appropriately. |
PCB Soldering Safety Precautions
Prioritizing safety is paramount when performing PCB soldering to protect yourself and the surrounding environment from potential hazards. This section outlines essential safety practices, covering ventilation, personal protective equipment (PPE), and the safe handling of equipment and materials.
- Ventilation
Always work in a well-ventilated area to avoid inhaling harmful fumes released during soldering. Use a fume extractor or open windows to ensure adequate airflow. These fumes, even from lead-free solder, can contain irritants. - Personal Protective Equipment (PPE)
Wear appropriate PPE, including safety glasses or goggles to protect your eyes from solder splatter and debris, and consider a respirator to protect from solder fumes, also use gloves to shield skin from flux and hot materials. - Handling Hot Equipment
Soldering irons operate at high temperatures, capable of causing serious burns. Exercise extreme caution when using and handling soldering equipment. Always return the soldering iron to its stand when not in use and avoid touching hot elements. - Safe Material Handling
Handle solder, flux, and other soldering materials with care. Some fluxes may contain irritants. Store all materials properly, away from children and pets. Be careful not to touch your mouth or eyes when you have flux residue on your fingers. - Work Area Preparation
Ensure your work area is free of flammable materials and is well organized to prevent accidents. Have a fire extinguisher suitable for electrical fires nearby, just in case. - Lead Exposure
Be aware of the dangers of lead exposure if using leaded solder. Always wash hands thoroughly after soldering, even when using gloves, to prevent ingestion or contamination from lead particles. Consider using a hand-wash detergent designed to remove metals.
Frequently Asked Questions About PCB Soldering
This section addresses common inquiries regarding PCB soldering, providing clear and concise answers to help you achieve reliable and high-quality solder joints.
- What type of solder should I use for PCB soldering?
The choice of solder depends on the application and environmental considerations. Common choices include Sn63Pb37 (lead-based, 63% tin and 37% lead), which has a low melting point and good wetting properties, and SAC305 (lead-free, 96.5% tin, 3% silver, and 0.5% copper), which complies with RoHS standards. For beginners and general use, Sn63Pb37 is often recommended due to its ease of use, while lead-free options are preferred for commercial and environmental compliance. Always refer to the component specifications and industry standards for precise requirements. - Do I need flux for PCB soldering?
Yes, flux is essential for successful PCB soldering. Flux serves multiple crucial functions: it cleans the metal surfaces by removing oxides, improves solder flow, and prevents re-oxidation during the soldering process. Without flux, solder will not wet the metal properly, resulting in poor and unreliable solder joints. Choose a flux appropriate for your specific solder and application, such as rosin-based flux for electronics work or no-clean flux to minimize post-soldering cleanup. - How many times can you solder a PCB component?
The number of times you can solder a PCB component depends on several factors, including the quality of the PCB, the component's design, and the soldering technique used. Repeated soldering can degrade the solder pads and the component's leads due to thermal stress. Generally, avoid unnecessary rework. For components with fragile leads, minimize soldering cycles, typically one or two attempts. When rework is required, consider using appropriate desoldering tools and always inspect the components and the PCB carefully for damage before attempting another solder cycle. - What temperature should my soldering iron be for PCB soldering?
The optimal soldering iron temperature for PCBs typically ranges from 300°C to 370°C (572°F to 698°F), but it varies depending on the solder type and component. Lead-based solders melt around 183°C (361°F), while lead-free solders require higher temperatures, around 217°C (423°F). Set your soldering iron at a temperature that allows the solder to melt quickly but avoids excessive heating, which can damage the PCB and components. Experiment and find the best temperature for your specific solder and tools. - What are the key differences between leaded and lead-free solder?
Leaded solder, typically Sn63Pb37, melts at a lower temperature (around 183°C) and offers excellent wetting and flow, making it easier to use. Lead-free solder, like SAC305, melts at a higher temperature (around 217°C) and has different wetting properties, requiring a slightly different technique. Leaded solder is not RoHS compliant. Lead-free solder is more environmentally friendly, so consider the application requirement to choose the correct solder type. - What is the best way to clean a PCB after soldering?
After soldering, you may need to clean the PCB to remove flux residue, which can be corrosive or cause unwanted electrical conductivity. Isopropyl alcohol (IPA) with a concentration of 90% or higher, along with a soft brush or lint-free cloth, works effectively. Some fluxes are designed to be 'no-clean,' so cleaning isn't always necessary. When cleaning, ensure the cleaning agent is compatible with all PCB components, and that it is completely dry before re-energizing the circuit.
PCB Soldering: Best Practices and Tips
Achieving high-quality, reliable solder joints on printed circuit boards (PCBs) requires adherence to best practices, encompassing material selection, temperature control, and proper technique. These practices not only enhance the mechanical and electrical integrity of the connections but also contribute to the longevity and functionality of the electronic devices being assembled.
- Selecting the Right Solder Wire
Choose a solder wire with appropriate diameter for the components being soldered, typically 0.5mm to 1mm for fine pitch components and slightly thicker for larger ones. The solder alloy (e.g., Sn63/Pb37, SAC305) should be selected based on application requirements and applicable standards. - Optimal Temperature Settings
Set the soldering iron temperature to the recommended level for the chosen solder alloy, typically around 315-370°C (600-700°F) for leaded solder and 350-400°C (660-750°F) for lead-free solder. Use temperature controlled soldering stations, which maintain consistent heat. - Proper Flux Application
Apply a thin layer of flux to the solder joint before heating. Flux cleans the metal surfaces, promoting better solder flow, and reduces oxidation. Use a no-clean flux to avoid post-soldering cleaning steps. Apply just enough flux to get the job done, too much will make a mess and may create a weak joint. - Optimal Heating Time
Heat the solder joint for just enough time to allow the solder to flow evenly. Avoid prolonged heating as this can damage components or the PCB. A good solder joint will typically form in a matter of 1-3 seconds. - Pre-heating
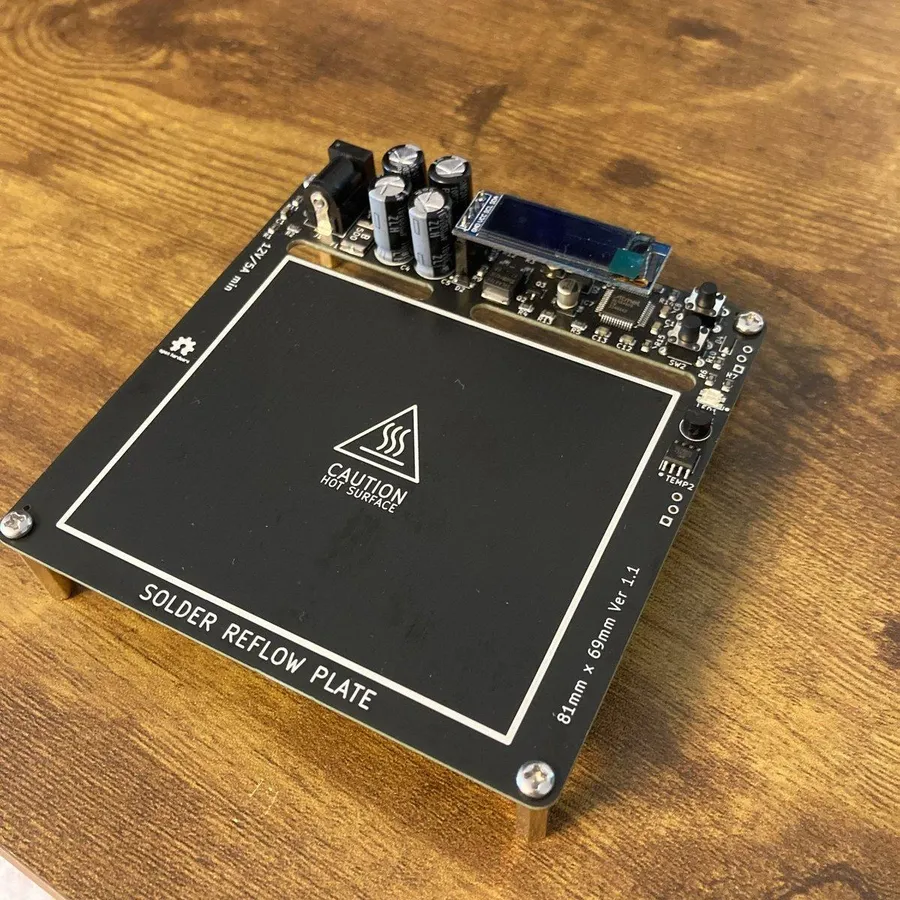
For larger components, preheating the board to a low temperature can help ensure uniform heat distribution, and prevent the board from warping and keep solder joints from cracking. A preheating hot plate can keep the board evenly heated for longer periods of time. - Tip Maintenance
Ensure that the soldering iron tip is clean and tinned. Regularly wiping the tip on a brass sponge during soldering and re-tinning it as needed are important for optimal heat transfer. - Solder Flow Control
Feed solder onto the joint, not the iron. As soon as the solder begins to flow, remove the wire. A correctly formed solder joint will have a smooth and concave profile. - Post-soldering Inspection
Visually inspect each solder joint for defects. Check for solder bridges, cold solder joints, insufficient solder, or excessive solder. A magnifying glass is helpful for close inspection.
Mastering PCB soldering requires practice and attention to detail. This comprehensive guide has covered basic and advanced techniques, safety practices, and troubleshooting tips to improve your soldering skills. By applying these insights, you'll be able to create reliable PCB solder joints, essential for success in electronics. As technology advances, the importance of solid PCB soldering will remain crucial, and staying up-to-date with best practices will ensure that you continue to solder effectively. Remember safety first, and practice makes perfect for precision PCB soldering.