Imagine your air conditioner as a complex machine; the condenser capacitor acts as its essential power boost, much like a charged battery igniting a car engine. This seemingly small component is vital for initiating and maintaining the compressor's function in air conditioning systems. In this article, we'll explore the science behind the condenser capacitor, common problems and solutions, and what makes this electrical component critical in many everyday appliances.
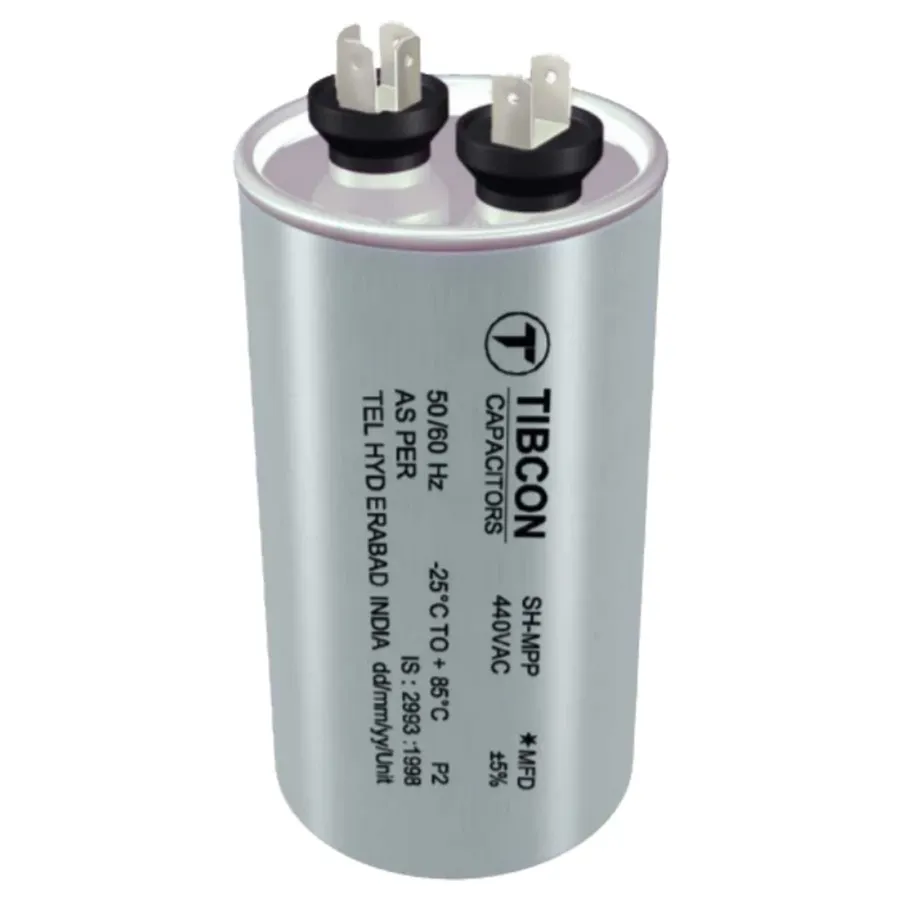
A condenser capacitor, commonly referred to as simply a capacitor, is a fundamental electrical component engineered to store electrical energy temporarily and release it when required. Functionally, it operates much like a temporary battery, comprising two conductive plates separated by a dielectric material, which is an insulator. While 'condenser' and 'capacitor' are often used interchangeably, understanding the nuances in their application is essential; a capacitor stores energy electrostatically, and a condenser historically refers to a device that condenses vapor, although the term is often used to refer to capacitors in certain contexts, particularly within HVAC systems.
| Feature | Capacitor | Condenser |
|---|---|---|
| Primary Function | Stores electrical charge electrostatically | Term used for capacitors in HVAC, or older definition is to condense vapor |
| Mechanism | Uses two conductive plates separated by a dielectric material | Has a similar structure as capacitor, or a device that transfers heat |
| General Usage | Electrical and electronic circuits across various applications | Primarily used within the context of AC systems |
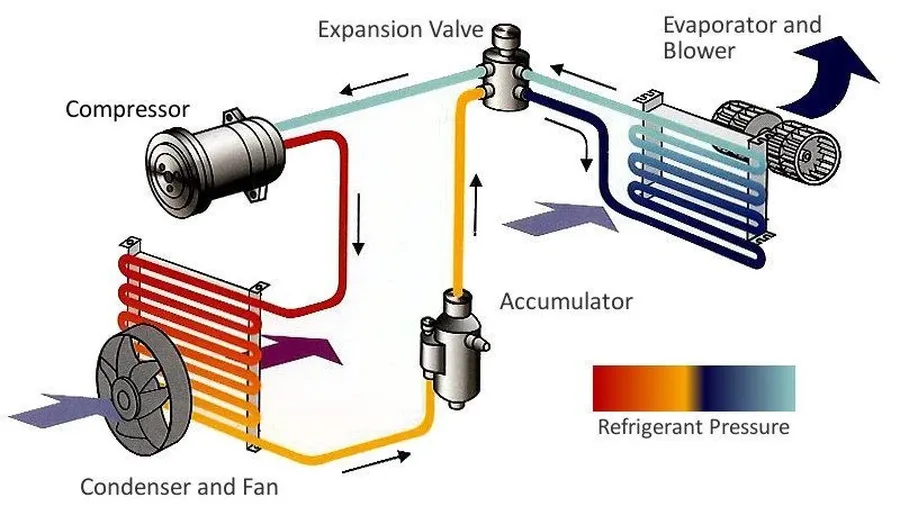
In air conditioning systems, condenser capacitors are indispensable for initiating and sustaining the operation of the compressor motor. They provide the essential electrical boost required to overcome the motor's initial resistance, ensuring the AC unit functions efficiently and reliably. This function is paramount for the overall performance and longevity of the AC system.
Capacitors in AC units are primarily categorized into two types: start capacitors and run capacitors. Each type plays a unique role in the operational cycle of the compressor, directly influencing the unit's performance and energy consumption.
| Feature | Start Capacitor | Run Capacitor |
|---|---|---|
| Function | Provides high torque for starting the compressor | Maintains motor efficiency and power factor |
| Operational Duration | Short, only during startup | Continuous, during operation |
| Duty Cycle | Intermittent | Continuous |
| Design | Designed for high capacitance and short bursts of energy | Designed for lower capacitance and consistent power delivery |
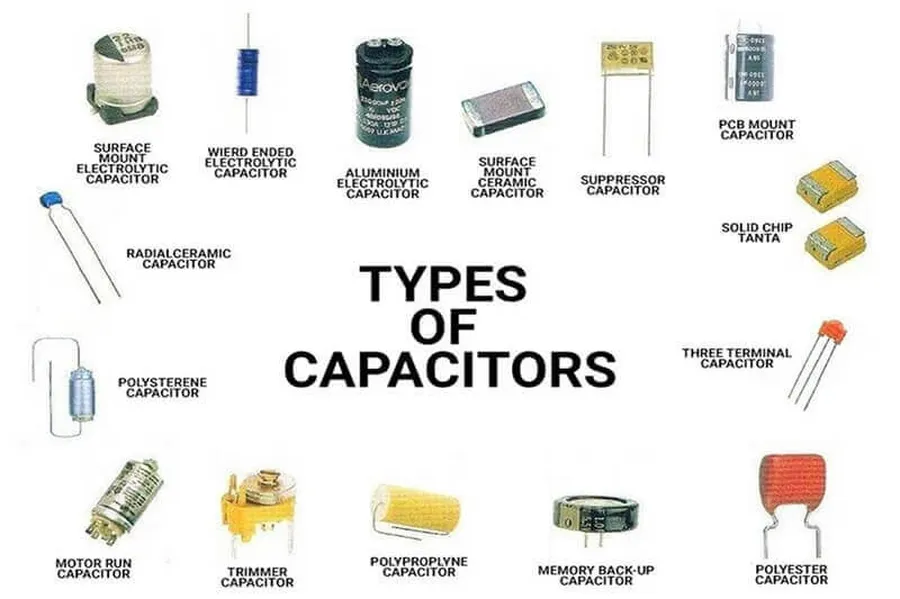
Condenser capacitors in AC units are not monolithic; they come in various types tailored to specific functions within the system. Understanding these types, their construction, and their ratings is crucial for proper maintenance and replacement. Primarily, we encounter dual-run capacitors, start capacitors, each with unique characteristics and roles in the operation of the AC system.
| Capacitor Type | Function | Typical Voltage Ratings | Construction | Key Characteristics |
|---|---|---|---|---|
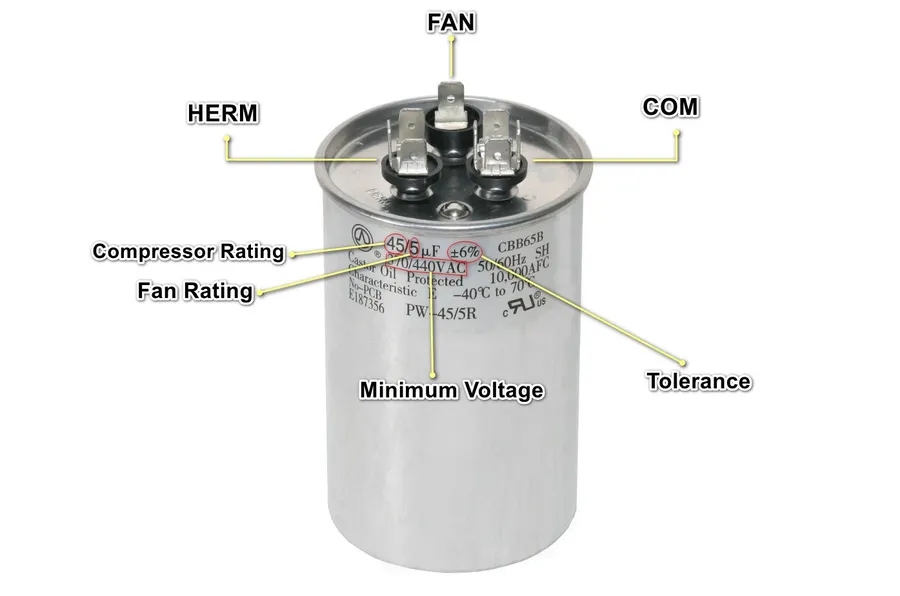
| Dual-Run Capacitor | Used to run both the compressor motor and the fan motor. Provides continuous energy for normal AC operation. | Typically 370VAC or 440VAC | Contains three terminals: Common (C), Herm (H), and Fan (F). Uses oil-filled, cylindrical can design. | Designed for continuous operation, typically higher capacitance values than start capacitors. |
| Start Capacitor | Provides a high-energy surge to the compressor motor for initial start-up. Disconnects after the motor reaches operating speed. | Varies, but often higher than run capacitors, in the range of 125VAC to 330VAC | Often a cylindrical design, typically with two terminals. | Short operational time, designed for high initial energy output. Often has a higher microfarad value compared to run capacitor. |
Capacitor material significantly impacts performance. Common materials include metalized polypropylene film for the capacitor dielectric, and oil-filled aluminum cans for the casing. The dielectric material is key to a capacitor's ability to store electrical charge, and its properties influence the capacitor's lifespan, temperature performance, and stability.
Identifying a failing condenser capacitor is crucial for maintaining the efficient operation of your air conditioning unit. A failing capacitor often manifests through several observable symptoms and can be diagnosed by paying attention to the AC unit's behavior and conducting visual inspections.
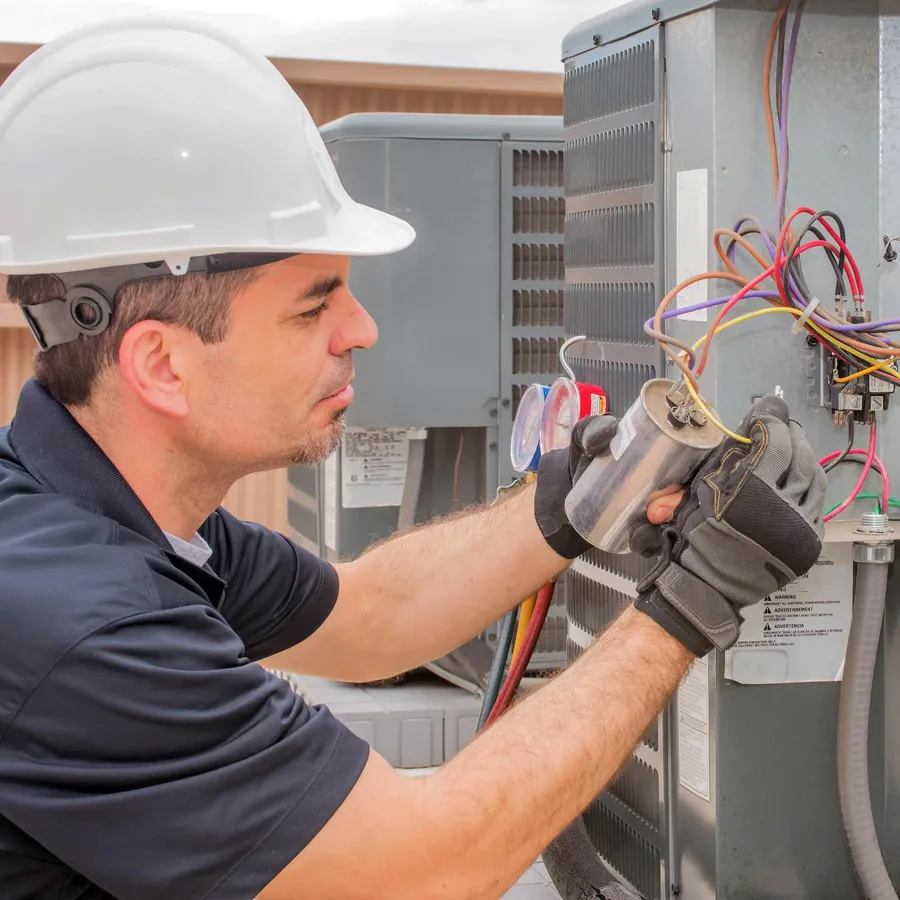
Replacing a condenser capacitor is a manageable task for many homeowners, but safety must be the paramount concern. This section provides a step-by-step guide emphasizing crucial safety precautions to ensure a safe and successful DIY replacement. Always prioritize safety, as capacitors store high-voltage energy that can be dangerous if mishandled.
If at any point you feel uncomfortable with these steps, seek professional assistance from a qualified HVAC technician. Safety must always be the priority when working with electrical components.
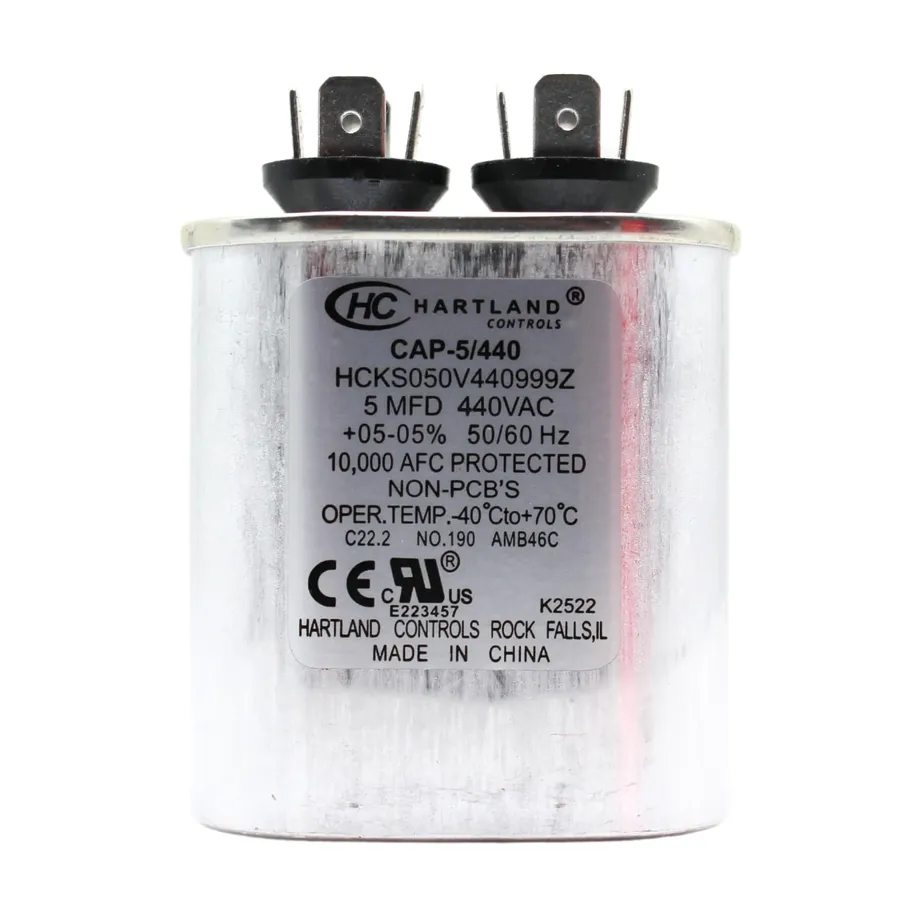
Selecting the appropriate replacement capacitor for your AC unit is crucial for ensuring its proper function and longevity. This involves matching the capacitor's physical size, capacitance (measured in microfarads or MFD), and voltage rating to the original component. Using an incorrect capacitor can lead to poor performance, damage to the AC system or even premature failure of the new capacitor.
| Parameter | Description | How to Find It |
|---|---|---|
| Capacitance (MFD) | The electrical charge storage capacity of the capacitor; must match the original exactly | Printed on the capacitor casing, usually followed by 'MFD', 'μF', or 'uF' |
| Voltage Rating (VAC) | The maximum voltage the capacitor can handle; should be equal to or higher than the original. | Printed on the capacitor casing, usually followed by 'VAC' or 'V' |
| Physical Size | The capacitor dimensions; crucial for physical fitment inside the AC unit | Compare the diameter and length of the old capacitor |
| Type | Start capacitors, run capacitors, or dual run capacitors each with unique function | Usually printed on the capacitor, observe if there are 2 or 3 terminals. |
The primary source for finding the correct capacitor specifications is the AC unit's nameplate. This label is typically located on the outdoor condenser unit and contains vital information such as the model number and voltage requirements. Additionally, the original capacitor itself will have its specifications printed on its casing. This method is preferable as some units may have been previously modified. Using these specifications, you can purchase the precise capacitor needed. It’s also crucial to check for the original part number, if available. This number ensures compatibility and reduces the risk of buying the incorrect component.
When purchasing a replacement capacitor, avoid common pitfalls such as selecting a capacitor with a lower voltage rating, which could lead to catastrophic failure. A capacitor with a higher voltage rating is acceptable and may even be preferable as it will typically improve the operating life of the capacitor. Furthermore, verify that the microfarad (MFD) rating matches the original exactly. Slight variations in MFD ratings can cause operational issues with your AC unit. It is not advisable to replace a start capacitor with a run capacitor. Ensure you are replacing the component with the correct type based on the terminals. Lastly, ensure the physical size is compatible as this is critical for proper fitment.
Replacing a condenser capacitor can be approached as a do-it-yourself (DIY) project or by hiring a professional HVAC technician. The choice between these two options depends on various factors, including technical expertise, time availability, and budget. Understanding the cost implications of each approach is critical for homeowners to make informed decisions. This section provides a detailed cost comparison, breaking down material expenses and labor charges.
| Cost Factor | DIY Replacement | Professional Replacement |
|---|---|---|
| Capacitor Cost (Material) | $15 - $75 | $30 - $100 (Marked up by professionals) |
| Tools (If needed) | $0 - $20 | Included in service |
| Labor Cost | $0 (Your Own Time) | $75 - $300 (Varies by location and complexity) |
| Total Cost | $15 - $95 | $105 - $400 |
| Time | 1-2 hours | 30mins - 1 hour |
| Warranty | None | Typically 30 days - 1 year |
| Risk | Higher (potential for injury or improper installation) | Lower (proper installation and diagnosis) |
The DIY route is the more economical choice for homeowners who have some technical proficiency and are comfortable working with electrical components. This option saves on labor costs, as the homeowner is performing the installation themselves. However, it is important to consider the potential risks and ensure that all safety protocols are strictly followed, such as properly de-energizing the AC unit and discharging the capacitor before handling. Purchasing tools like a multimeter to ensure there is no residual electrical energy in the capacitor and using insulated tools is a must.
Opting for a professional service offers convenience, expertise, and peace of mind. While the overall cost is higher due to labor charges, it often includes a warranty on the work and the new capacitor, reducing the risk of future issues. Professional technicians also have the experience to diagnose any underlying problems that might have contributed to the failure of the capacitor.
Ultimately, the optimal choice between DIY and professional replacement hinges on the homeowner’s confidence in their abilities, their tolerance for risk, and their budget. For those lacking confidence or time, professional replacement offers the best balance of safety, reliability, and convenience.
This section addresses common inquiries regarding condenser capacitors, providing practical insights and clear answers to help you understand these essential components of your air conditioning system. Drawing on technical knowledge and real-world experience, we aim to clarify any confusion surrounding their function, failure, replacement, and associated costs.
While a faulty capacitor is a common culprit for AC unit malfunctions, other issues can mimic capacitor failure. Effective troubleshooting requires a systematic approach to identify the root cause of the problem. This section explores common problems beyond capacitor issues, and provides a guide on how to further self-diagnose, and when to seek professional help.
When troubleshooting, it's important to proceed methodically: Check wiring, examine all terminals, test the contactor, check the compressor, listen for hissing sounds, check for ice and other blockages, and test the capacitor. If you're uncomfortable working with electrical components or suspect a more significant issue, contact a licensed HVAC professional. They have the tools and expertise to diagnose and repair complex AC unit problems safely and effectively.
In conclusion, the condenser capacitor is a small but crucial component in the functionality of air conditioning systems. Understanding its role, recognizing signs of failure, and safely replacing it can save homeowners time and money. By learning the nuances of condenser capacitor functionality, we can appreciate the sophistication of everyday technology and its essential role in ensuring our home comfort. Proper maintenance and prompt attention to failing capacitors not only keep your AC running but also enhance the lifespan of your unit and overall energy efficiency.

