In the world of DIY electronics and lighting, safely powering LEDs is crucial. A 12V power supply is common, but LEDs usually require a lower voltage to operate correctly. Using a resistor with a 12V LED is essential to prevent damage and ensure longevity. This article will demystify the process of choosing the appropriate LED resistor for 12V circuits. We'll explain the necessary calculations, different resistor types, and practical wiring techniques. It provides an easy to understand and authoritative guide for selecting and using resistors with 12V LEDs, whether you're a seasoned maker or just starting out.

Light Emitting Diodes (LEDs) are current-driven devices, meaning their brightness is determined by the amount of current flowing through them. Unlike incandescent bulbs, LEDs do not inherently limit current. When connected directly to a 12V power source, an LED will attempt to draw excessive current, leading to overheating and immediate failure. A resistor is therefore essential to limit the current to a safe level, ensuring the LED operates within its specifications and thus prolonging its lifespan. This section explains this fundamental concept by describing the role of voltage drop and current limiting in LED circuits.
LEDs function based on the principle of electroluminescence, where photons of light are emitted when electrons transition between energy levels within a semiconductor material. Each LED has a specific 'forward voltage' (Vf), which is the voltage required for it to conduct electricity and emit light efficiently. This voltage is typically much lower than a 12V supply. For example, a standard red LED might have a Vf of approximately 2V, while other LEDs may have different Vf values (e.g., white or blue LEDs around 3.3V). In addition, every LED has a current limit. For example, a standard 5mm LED is typically around 20mA. Therefore, a resistor is crucial to drop the excess voltage, thereby limiting the current to its operational threshold. Without a properly sized resistor, the 12V supply would force too much current through the LED, leading to immediate overheating and failure.
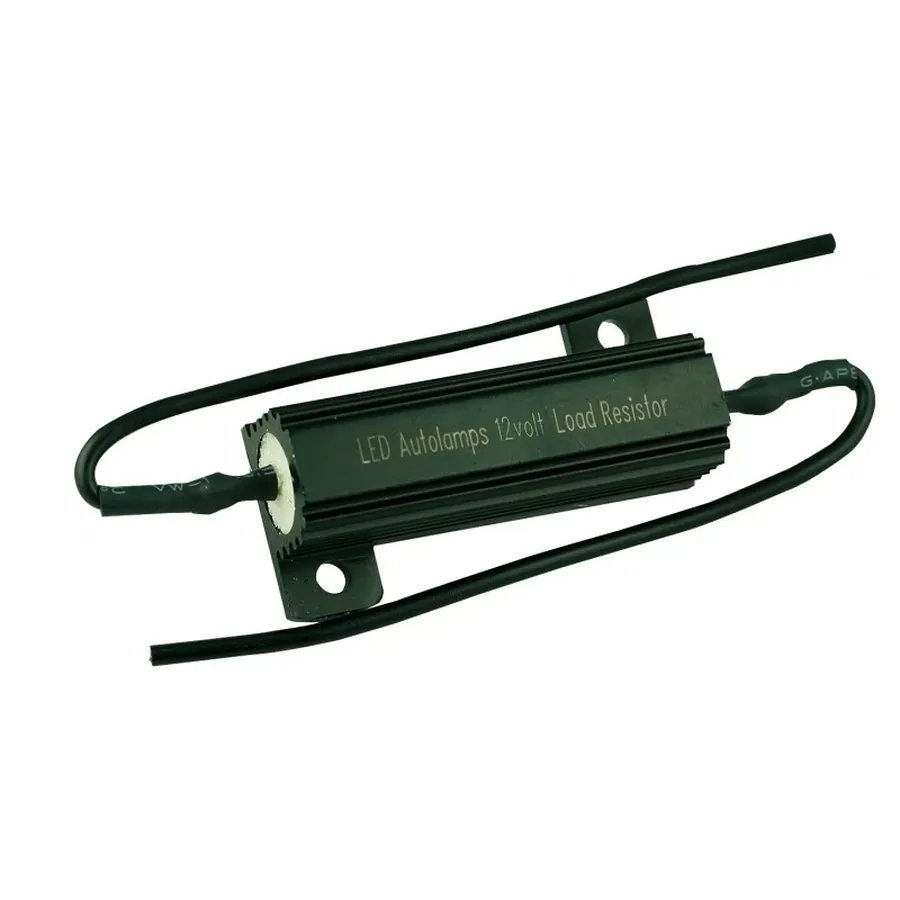
Determining the appropriate resistor value for a 12V LED circuit is crucial to ensure both optimal performance and longevity of the LED. This calculation, rooted in Ohm's Law, prevents excessive current flow that could damage the LED, while also ensuring the LED receives enough current to light up correctly. The core principle is to limit the current to the LED's specifications and this section will guide you through this calculation.
The fundamental formula for calculating the required resistor value is derived from Ohm's Law (V=IR), rearranged to solve for resistance (R):
R = (Vs - Vf) / I
Where: * **R** is the resistance in ohms (Ω). * **Vs** is the supply voltage (12V in this case). * **Vf** is the LED's forward voltage, typically found in the LED's datasheet, or in the product specification. * **I** is the desired forward current through the LED, also typically specified in the LED datasheet, or in the product specification.
To illustrate this, consider a common 5mm red LED. Typically, these LEDs have a forward voltage (Vf) of approximately 2V and a desired forward current (I) of 20mA (0.020A). Let's calculate the required resistor value for this LED powered by a 12V supply:
R = (12V - 2V) / 0.020A = 500Ω
Therefore, a 500Ω resistor is needed. In practice, resistors are manufactured in standard values. A common value in close proximity to 500 ohms, such as 510 ohms, or 470 ohms should be used. It's typically better to select a slightly higher resistance to reduce the current, since a slightly dimmer LED is better than a fried LED. It's important to consult the specific datasheet of your LED for precise voltage and current values, as they can vary.
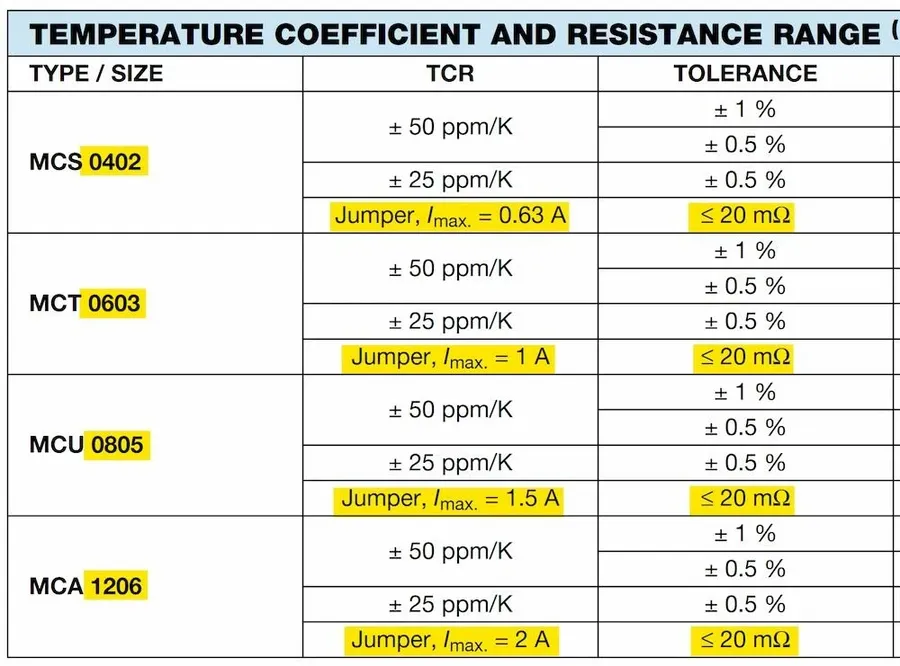
Selecting the appropriate wattage for a resistor in a 12V LED circuit is crucial to ensure the longevity and reliability of both the resistor and the LED. The power dissipated by a resistor, measured in watts, is directly related to the heat it generates. If the resistor's wattage rating is too low, it can overheat, potentially leading to failure or even fire hazards. Therefore, understanding how to calculate power dissipation and selecting an appropriate resistor is essential for safe and efficient LED circuit design.
The power (P) that a resistor needs to handle in a 12V LED circuit can be calculated using the formula: `P = (Vs - Vf) * I`, where: `Vs` is the supply voltage (12V), `Vf` is the forward voltage drop of the LED, and `I` is the forward current flowing through the LED. This calculation determines the power that the resistor will dissipate as heat. The resistor's wattage rating must be equal to or greater than this calculated power.
To ensure reliability, a safety margin is always advisable. It's common practice to choose a resistor with a power rating at least twice the calculated power dissipation. This buffer allows the resistor to operate within safe thermal limits, preventing premature failure. This margin will also accommodate small variations in actual operating conditions.
| Parameter | Description | Units |
|---|---|---|
| Vs | Supply voltage | Volts (V) |
| Vf | Forward voltage drop of LED | Volts (V) |
| I | Forward current of LED | Amperes (A) |
| P | Power dissipation by resistor | Watts (W) |
Resistors come with standard wattage ratings, such as 1/8W, 1/4W, 1/2W, 1W, and 2W. Select the smallest standard wattage rating that is greater than the calculated power dissipation with your safety margin. For example, if the calculated power is 0.1W, using a 1/4W (0.25W) resistor will provide an adequate safety margin.
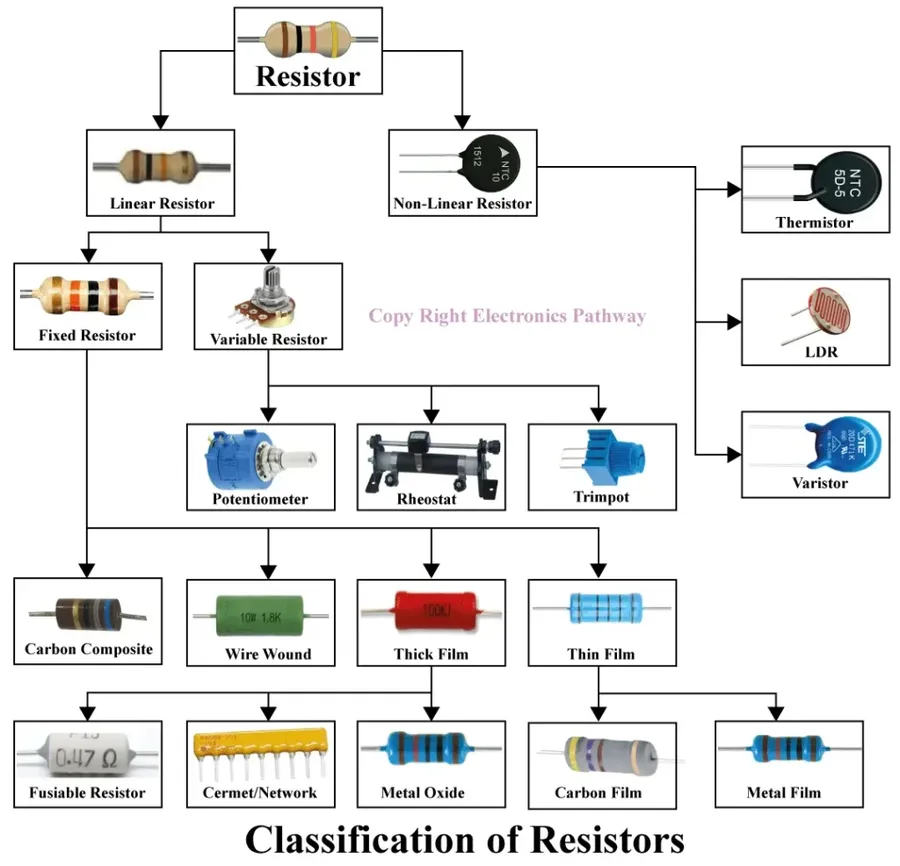
Selecting the appropriate resistor type is crucial for the performance and reliability of 12V LED circuits. Resistors come in various forms, each with unique characteristics that make them suitable for different applications. The primary types encountered in LED projects include through-hole, surface mount (SMD), and built-in resistors, each offering distinct advantages and disadvantages.
| Resistor Type | Description | Pros | Cons | Typical Applications |
|---|---|---|---|---|
| Through-Hole | Traditional components with leads that are inserted into holes on a circuit board. | Easy to handle and prototype; readily available with wide range of power ratings; good for breadboarding and experimentation. | Larger size, can be bulky in compact designs; require drilling or through-hole board. | Educational projects, prototyping, older designs. |
| Surface Mount (SMD) | Compact components that are soldered directly onto the surface of a circuit board. | Small size and low profile; enables compact designs; suitable for mass production; can be automated assembly; generally lower parasitic inductance. | More difficult to handle and solder manually; require specialized tools and techniques. | Commercial products, high-density circuits, mass production. |
| Built-in | Resistors integrated within pre-wired LED units or custom components. | Simplified wiring and installation; reduced component count; protection against over-current for that specific LED. | Limited flexibility; may not be optimal for custom designs; might not be suitable for all circuit types and voltages. | Commercial LED strips, pre-wired led lights, and other integrated products. |
Properly wiring an LED with a resistor to a 12V power supply is crucial to prevent damage to the LED and ensure optimal performance. This section provides a step-by-step guide for connecting a 12V LED with a resistor, covering both in-line resistor placement and alternative wiring methods.
Note that an in-line resistor wiring is the most common, and it is easier to troubleshoot as the resistor is before the LED. The resistor can be placed in either leg of the circuit but most commonly it is placed on the power side (anode) of the LED.
This step-by-step guide provides a solid foundation for wiring LEDs with resistors in 12V circuits. However, proper knowledge of electrical safety is crucial when dealing with any electrical components.
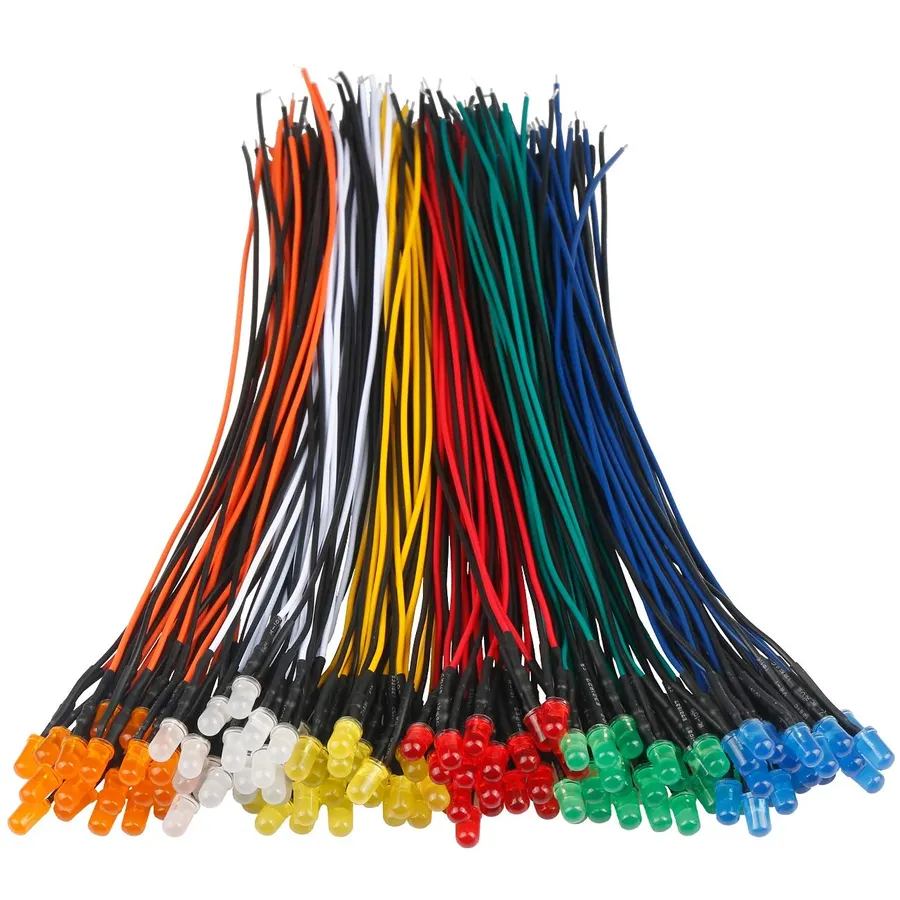
Pre-wired 12V LEDs with integrated resistors offer a convenient solution, streamlining the process of incorporating LEDs into various projects. These ready-to-use components simplify circuit design, minimizing the need for complex calculations and manual wiring of individual resistors. This section explores their advantages, limitations, and best applications.
These LEDs come with a resistor already built into the circuit, ensuring the correct current flows through the LED. This greatly reduces the risk of damaging the LED due to overcurrent. The design often features robust wiring and a protective casing around the LED and resistor. Pre-wired 12V LEDs are manufactured to specific standards and are often designed for use in applications such as signage, automotive lighting, and decorative displays where their ease of use is a significant advantage.
| Feature | Advantages | Limitations | Best Uses |
|---|---|---|---|
| Pre-Wired 12V LEDs with Built-in Resistors | Simplifies circuit design, reduces wiring complexity, protects LEDs from overcurrent, suitable for quick setups, consistent performance due to standardized manufacturing. | Limited flexibility in customizing resistor values, may be larger than individual LEDs and resistors combined, potentially higher cost per unit compared to bare LEDs and resistors, may not be suitable for complex circuits that require specific resistance values. | Ideal for beginners, projects requiring quick assembly, automotive lighting, simple indicator lights, decorative lighting, and when space is less of a concern, situations where circuit modification is not necessary. |
Choosing the right pre-wired 12V LED involves understanding the intended application. Consider factors such as the required brightness, physical dimensions, and any specific environmental conditions where it will be used. While generally offering less customization than discrete components, these LEDs offer a plug-and-play convenience that is often critical for rapid prototyping or simple builds. When assessing pre-wired options, it is also important to verify the current rating and, if available, the value of the integrated resistor, to ensure it matches project requirements. Be sure to note the color and the luminous intensity (measured in millicandelas or lumens) provided in the specifications of the LED to ensure it meets the brightness and application criteria.
This section addresses common questions regarding the use of resistors with 12V LEDs, providing concise and authoritative answers to ensure safe and efficient LED operation. These questions are designed to clarify typical user concerns and provide practical solutions.
When working with 12V LEDs and resistors, encountering issues is not uncommon. This section provides guidance on diagnosing and resolving frequently occurring problems, from incorrect resistor values to wiring errors, ensuring your LED circuits operate reliably and efficiently.
While basic LED resistor calculations are straightforward, more complex scenarios require advanced design considerations. This section delves into using multiple LEDs with a single resistor, calculating resistor values for different LED configurations (series, parallel, or combined), and designing more intricate circuits for specialized applications. Understanding these advanced concepts allows for greater flexibility and optimization in 12V LED projects.
When working with multiple LEDs, it is essential to understand series and parallel configurations, and how they impact the resistor requirements:
Beyond basic resistor calculations, one must consider other design factors that impact component longevity and circuit performance:
Finally, more complex applications might require the use of constant current drivers instead of resistors. These drivers regulate current more precisely and are especially useful for applications that require a constant level of brightness, or where LEDs are connected in long chains with complex current and voltage requirements.
Selecting the right LED resistor for your 12V project is a balancing act between safety and performance. Using a 12V led resistor is critical for preventing LED damage, optimizing performance and preventing unexpected failures. By understanding the underlying principles of voltage drop, resistance calculations, and resistor power ratings, you can confidently navigate the world of LED lighting and create long-lasting, effective electronic projects. Remember to prioritize safety and accuracy when selecting and implementing a 12V led resistor in your projects. Consider using pre-wired options for convenience, and always double-check your calculations before connecting power.

